Week 4 ORC: repairs after kitchen demo
Welcome to week 4 ORC: kitchen repairs after kitchen demo. Can you believe we are already in the 4th week of the challenge?

Welcome to week 4 of the ORC, the week we make repairs after the kitchen demo.
This is the week we prep and restore our walls, electrical outlets and switches in preparation for the shiplap.
If you remember last week (click here to see that) we did the demo of the kitchen tile and damaged the sheetrock so we need to restore that before moving on.
There was a large hole left in the corner, so that is where we started with repairs to restore the wall.
But first
Prior to repairing the large hole, we had to completely

Once the piece that was damaged so badly was completely removed we needed a 14 x 14 piece of sheetrock to restore it.
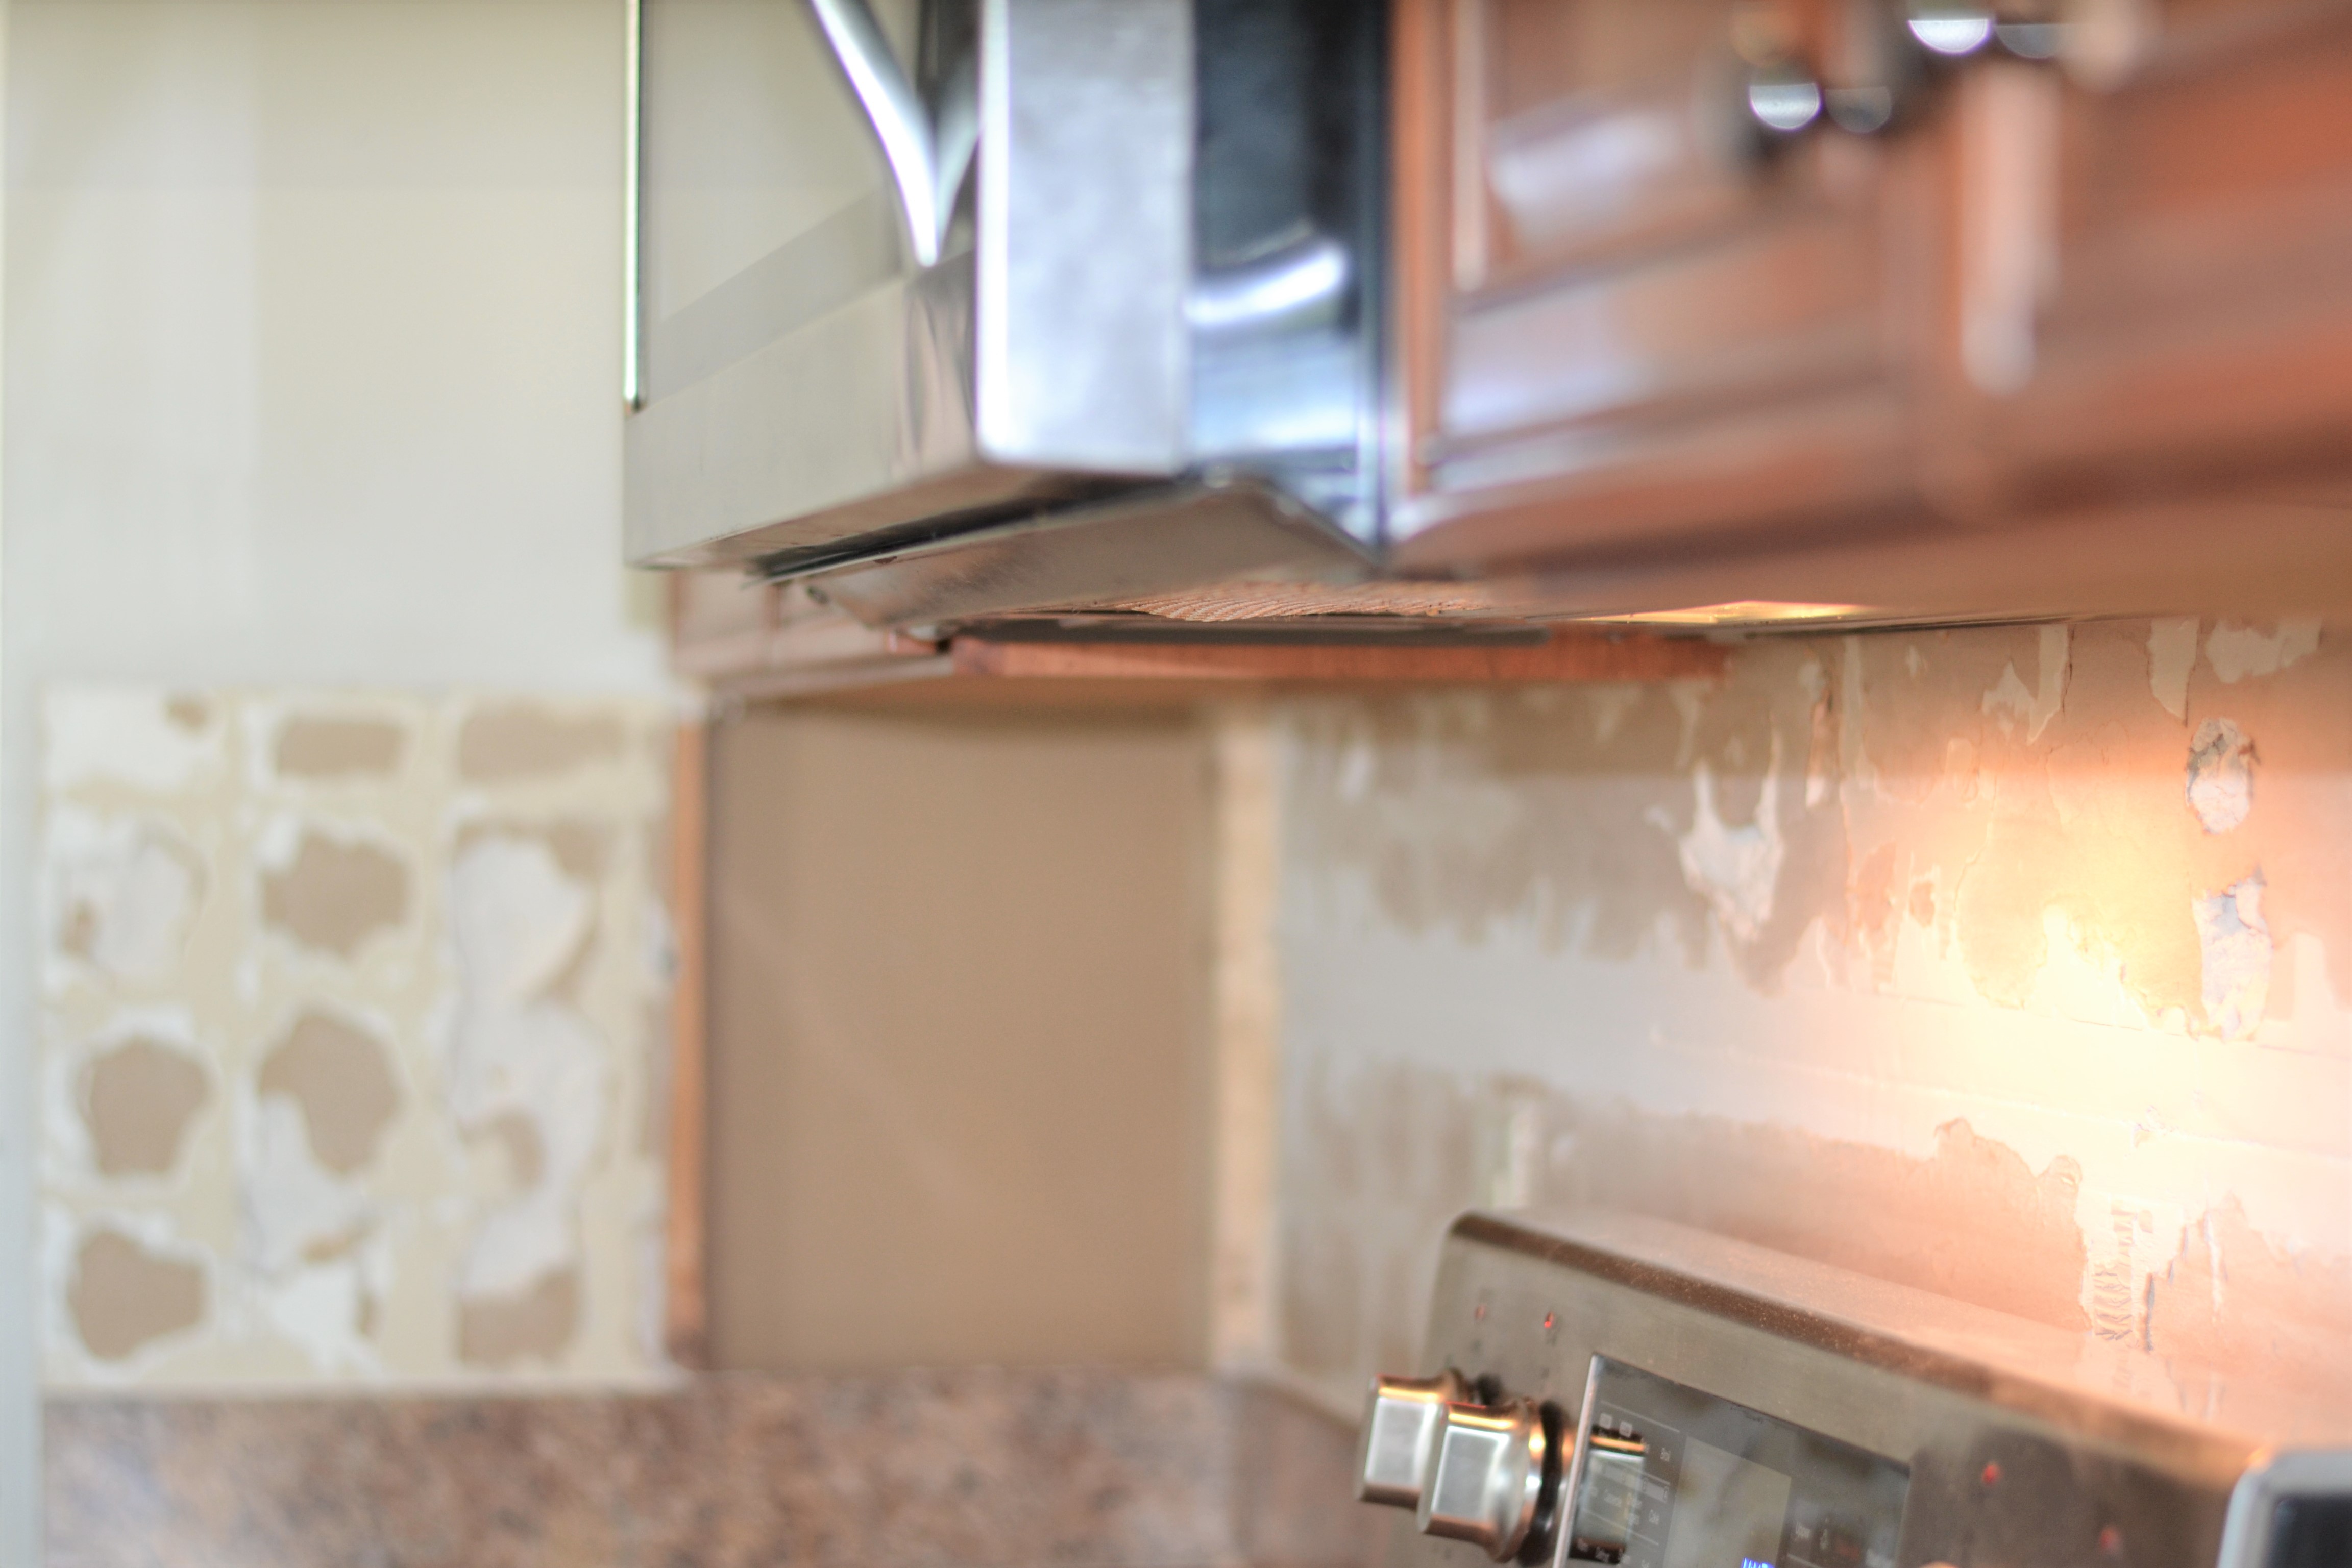
Unfortunately you have to purchase an entire sheet of sheetrock and we did not want to do that due to so much waste.
Lucky for us they are building behind us so we went searching for good sheetrock scraps for this repair.
We were able to find a piece they had put in the trash pile that was just a bit bigger than what we needed.
Cutting that piece down to size made it a perfect fit for the area to restore the wall.
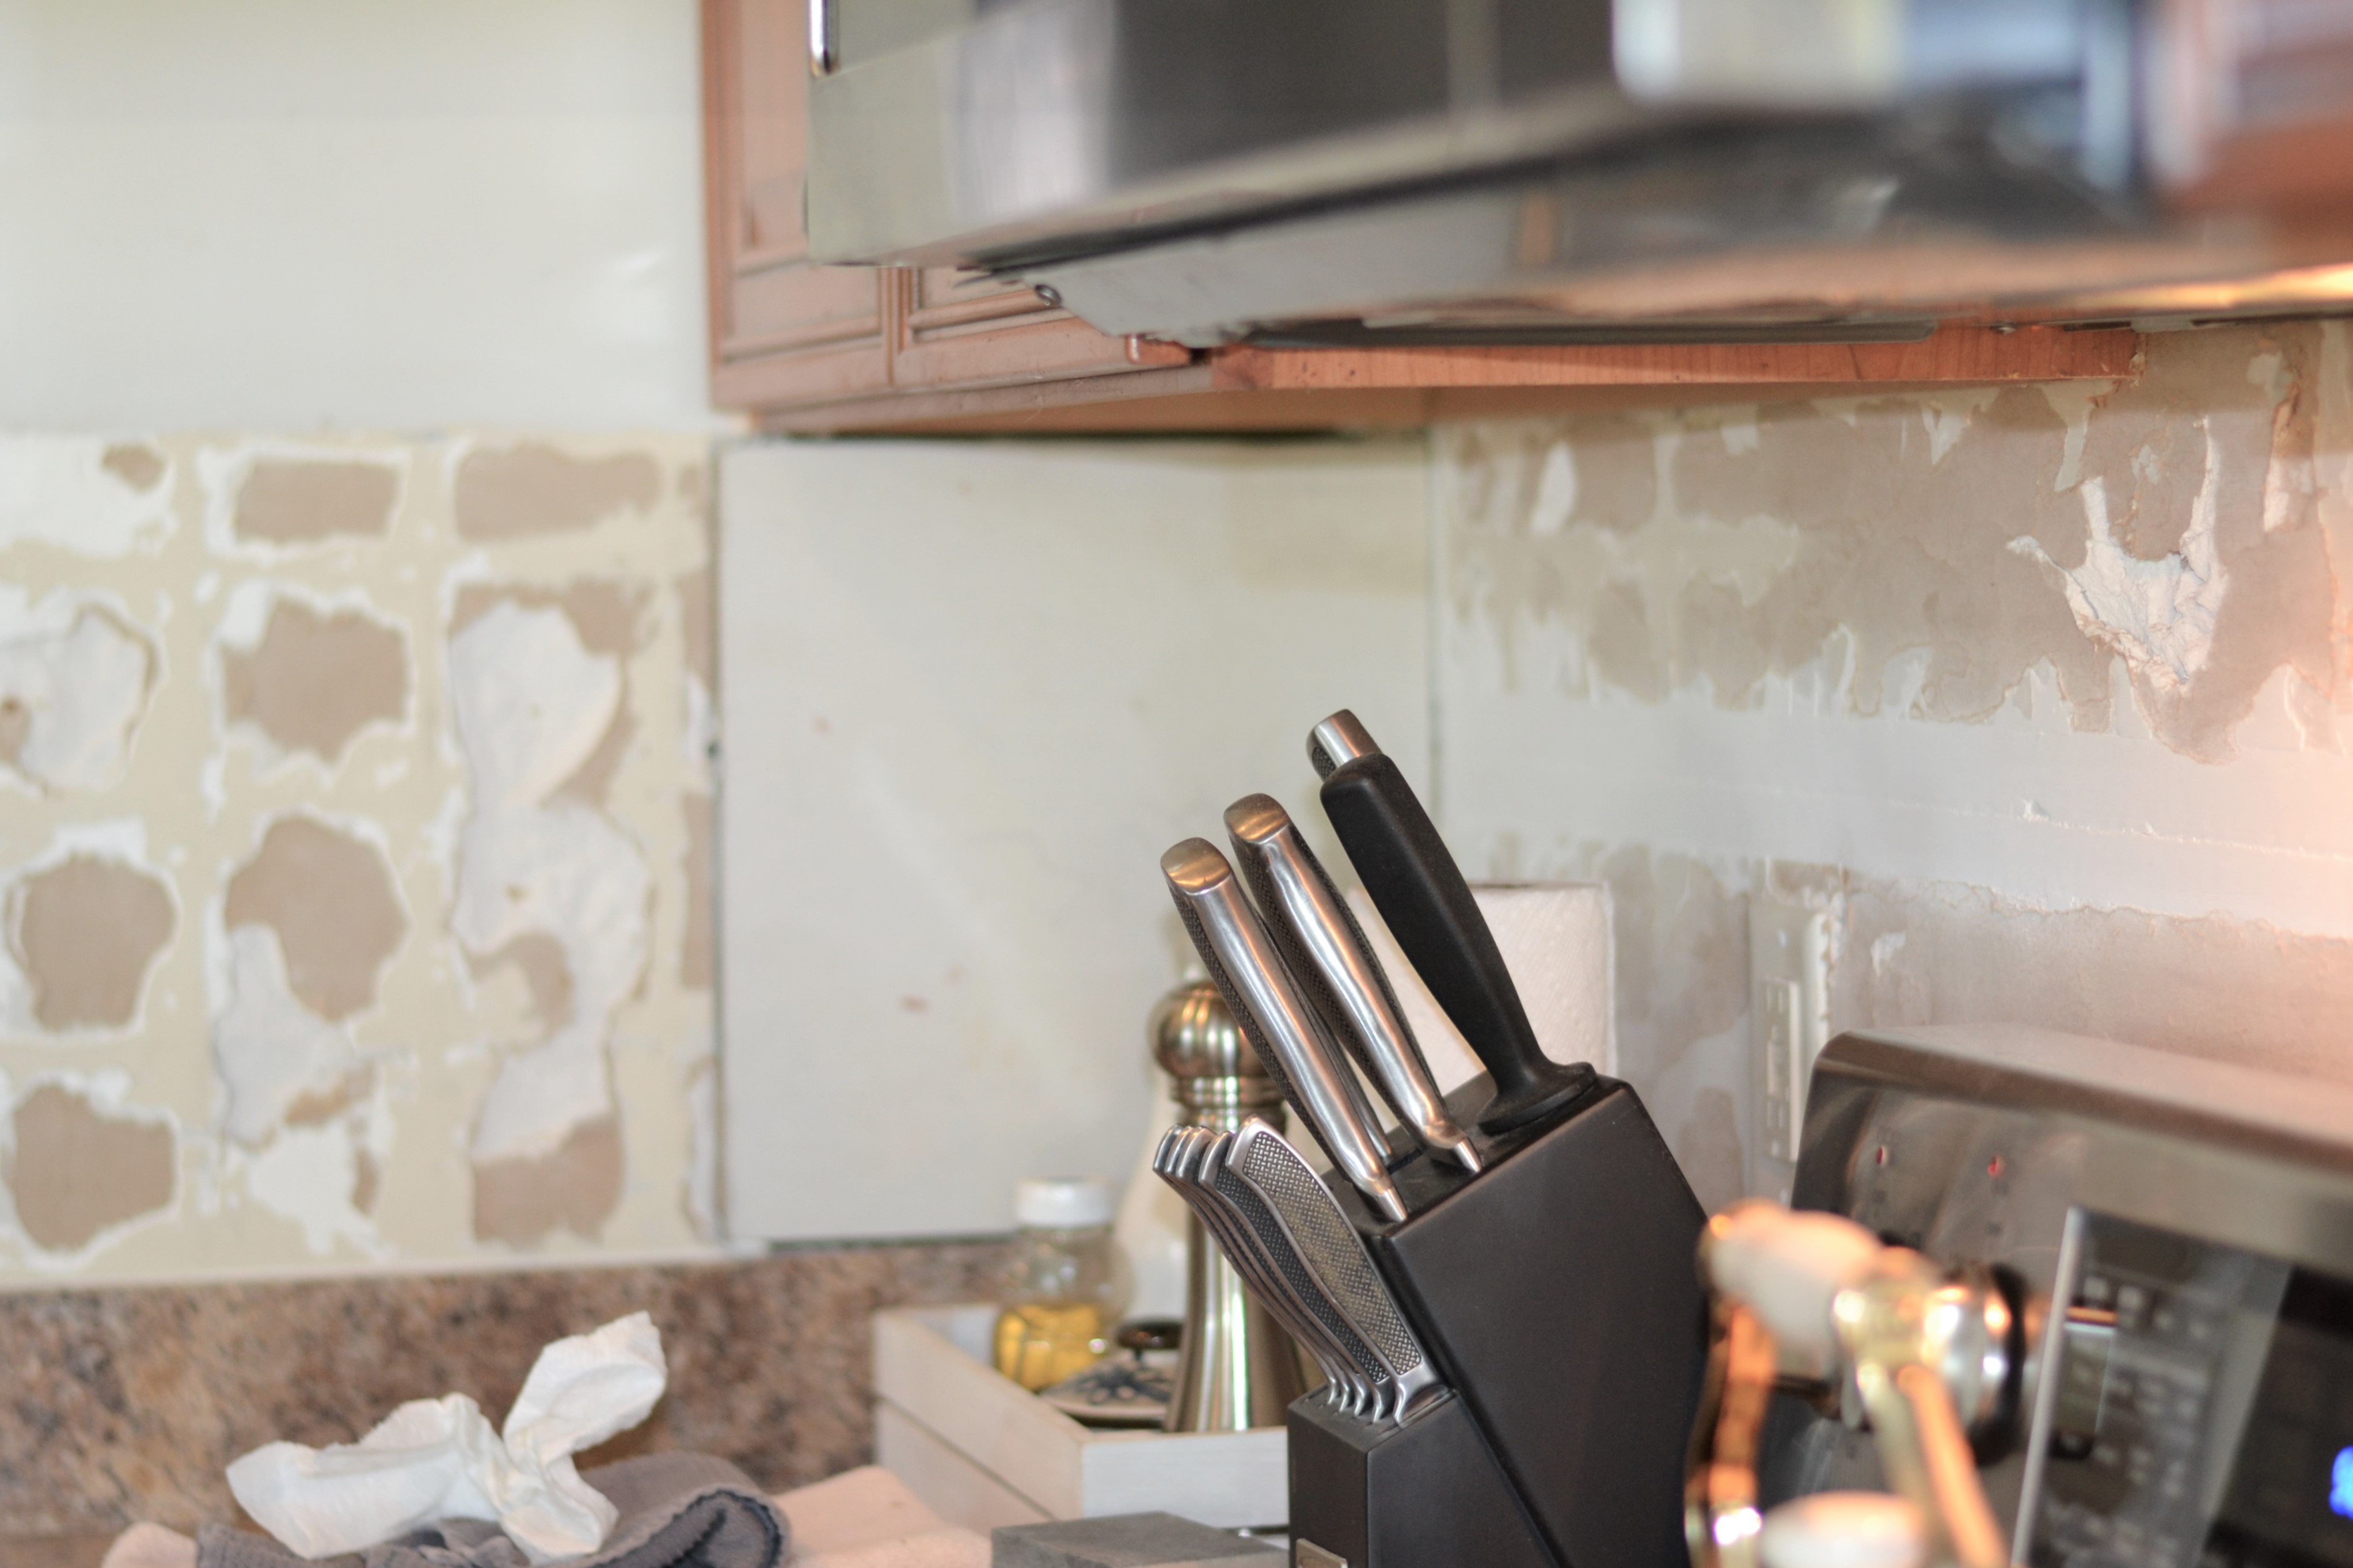
Before moving onto to the smaller repairs we first had to use joint compound around the sheetrock.
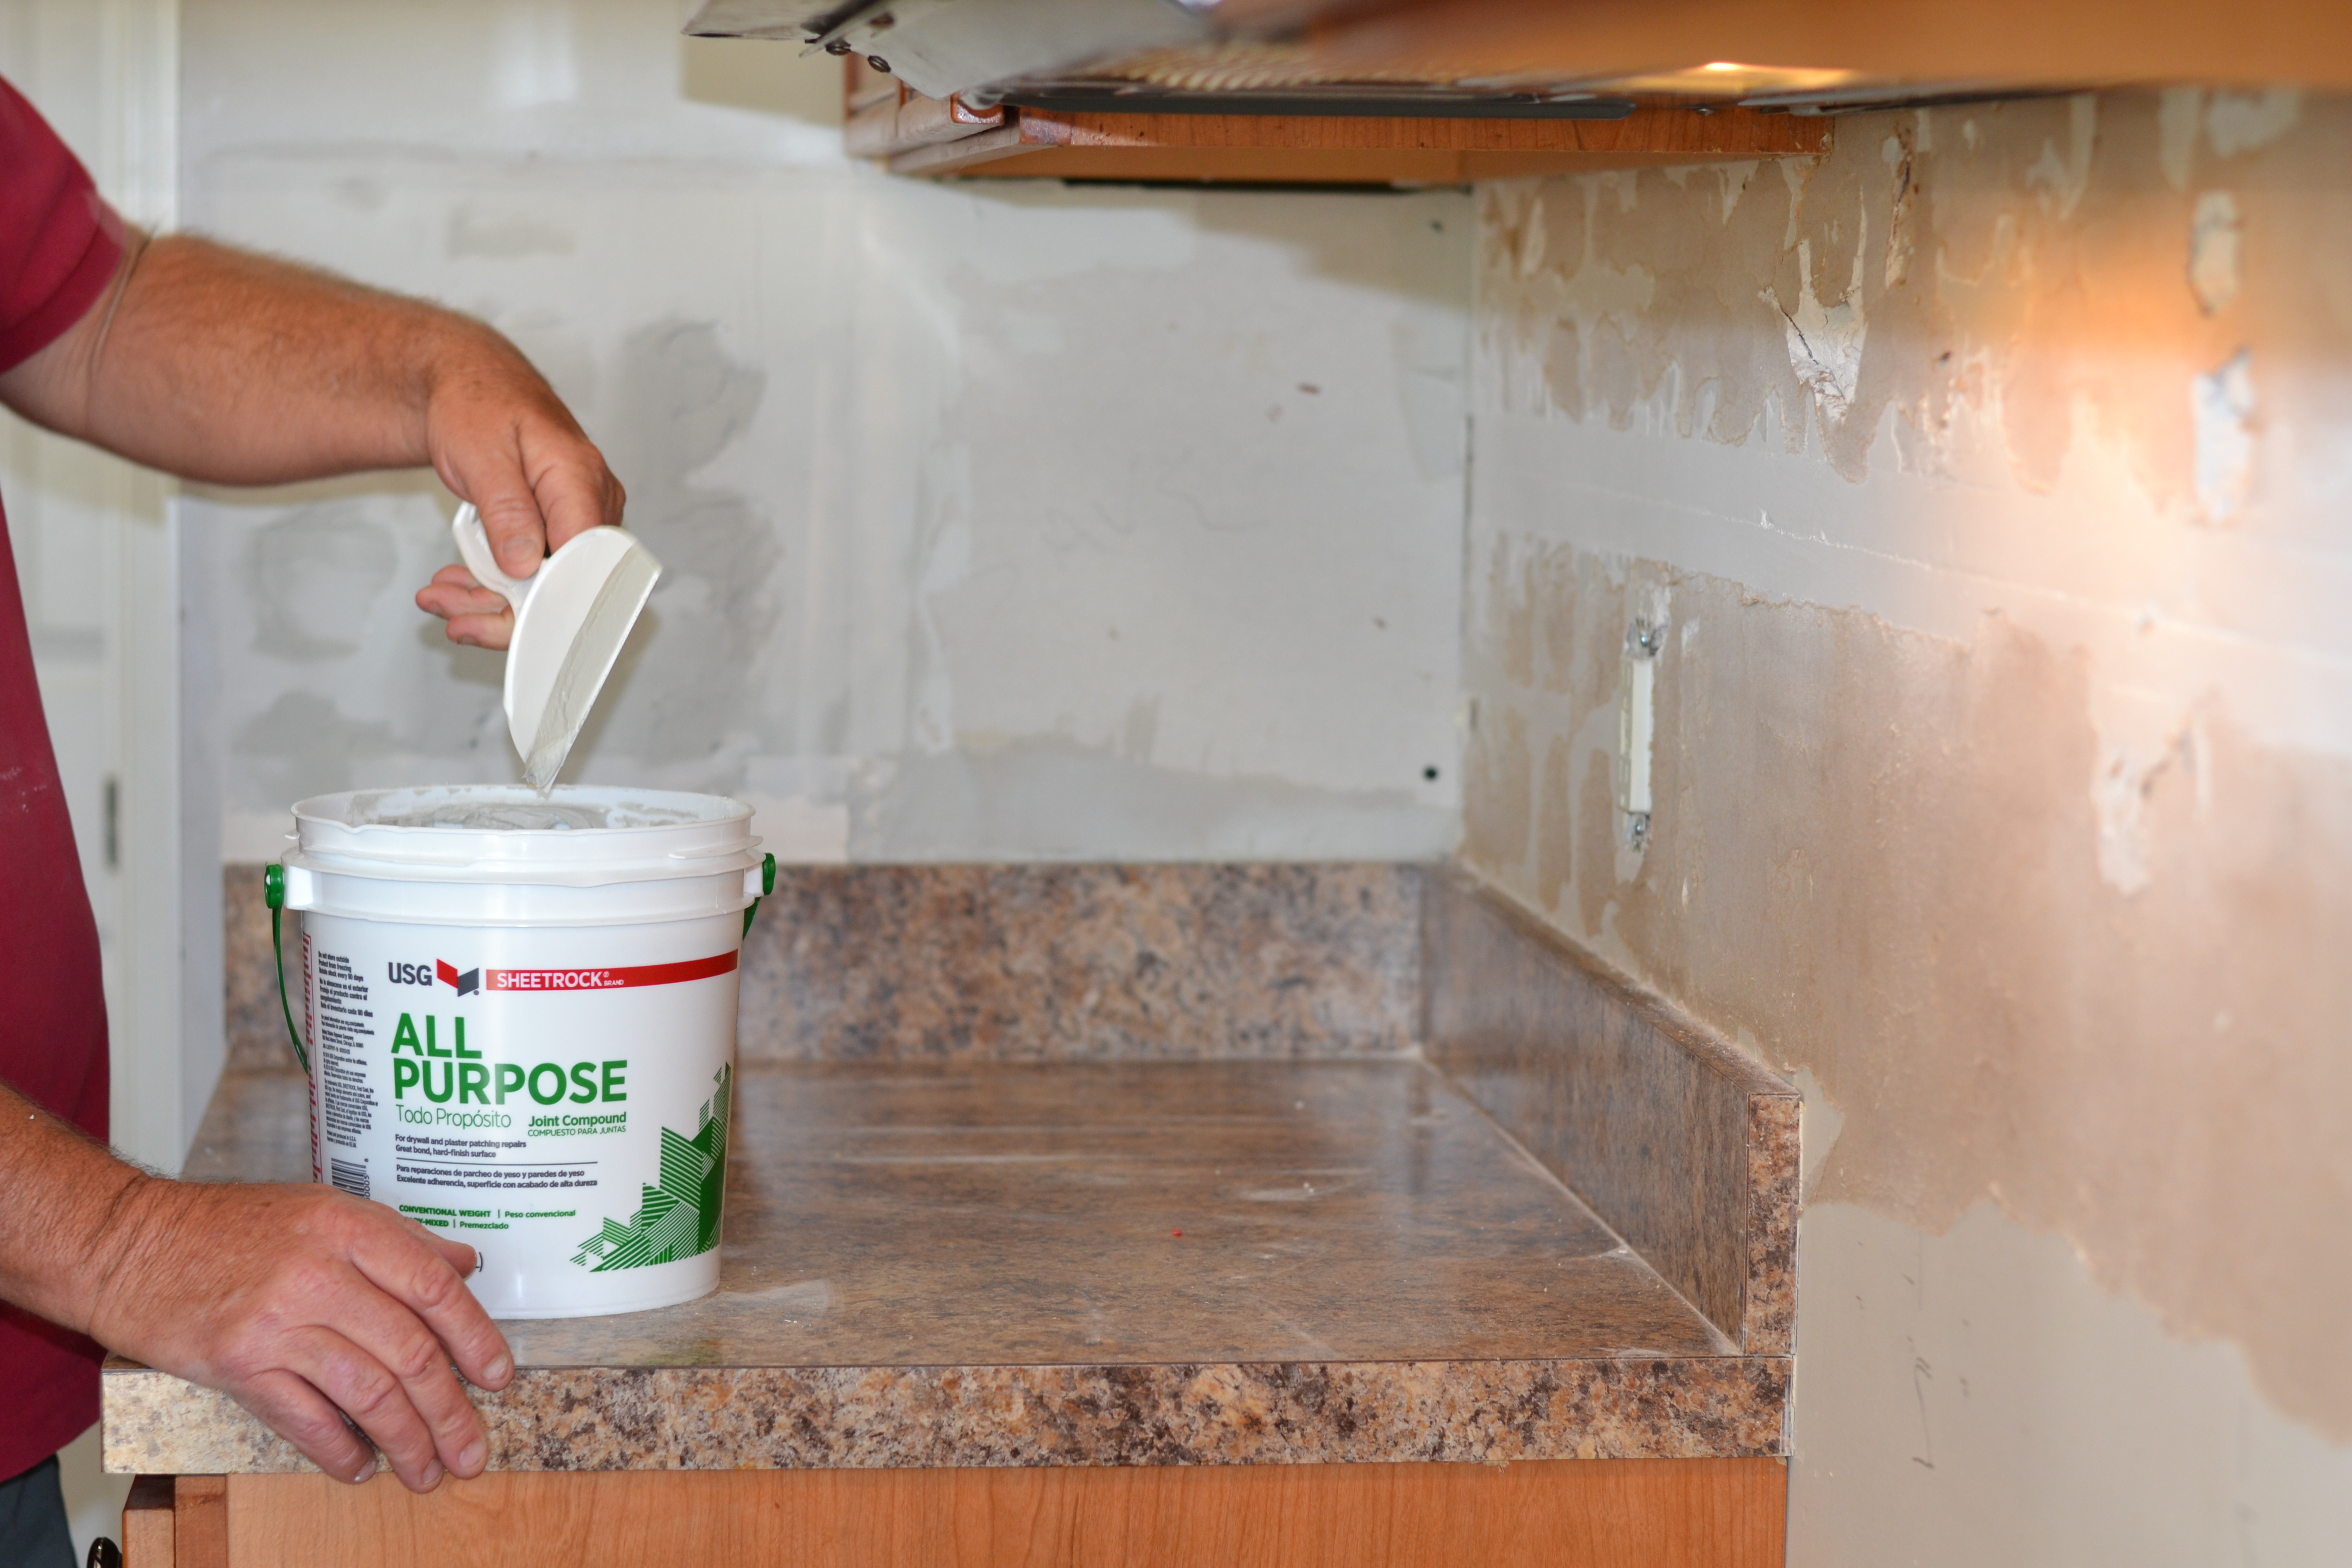
Now that the new piece of sheetrock was in it was time to repair the smaller holes in the wall to restore the wall to a flush finish.
Repairing small holes
After replacing the one section of sheetrock it was time to repair the small holes that were created during demo.
For these repairs we used drywall patch, which are square pieces of a wire mesh.
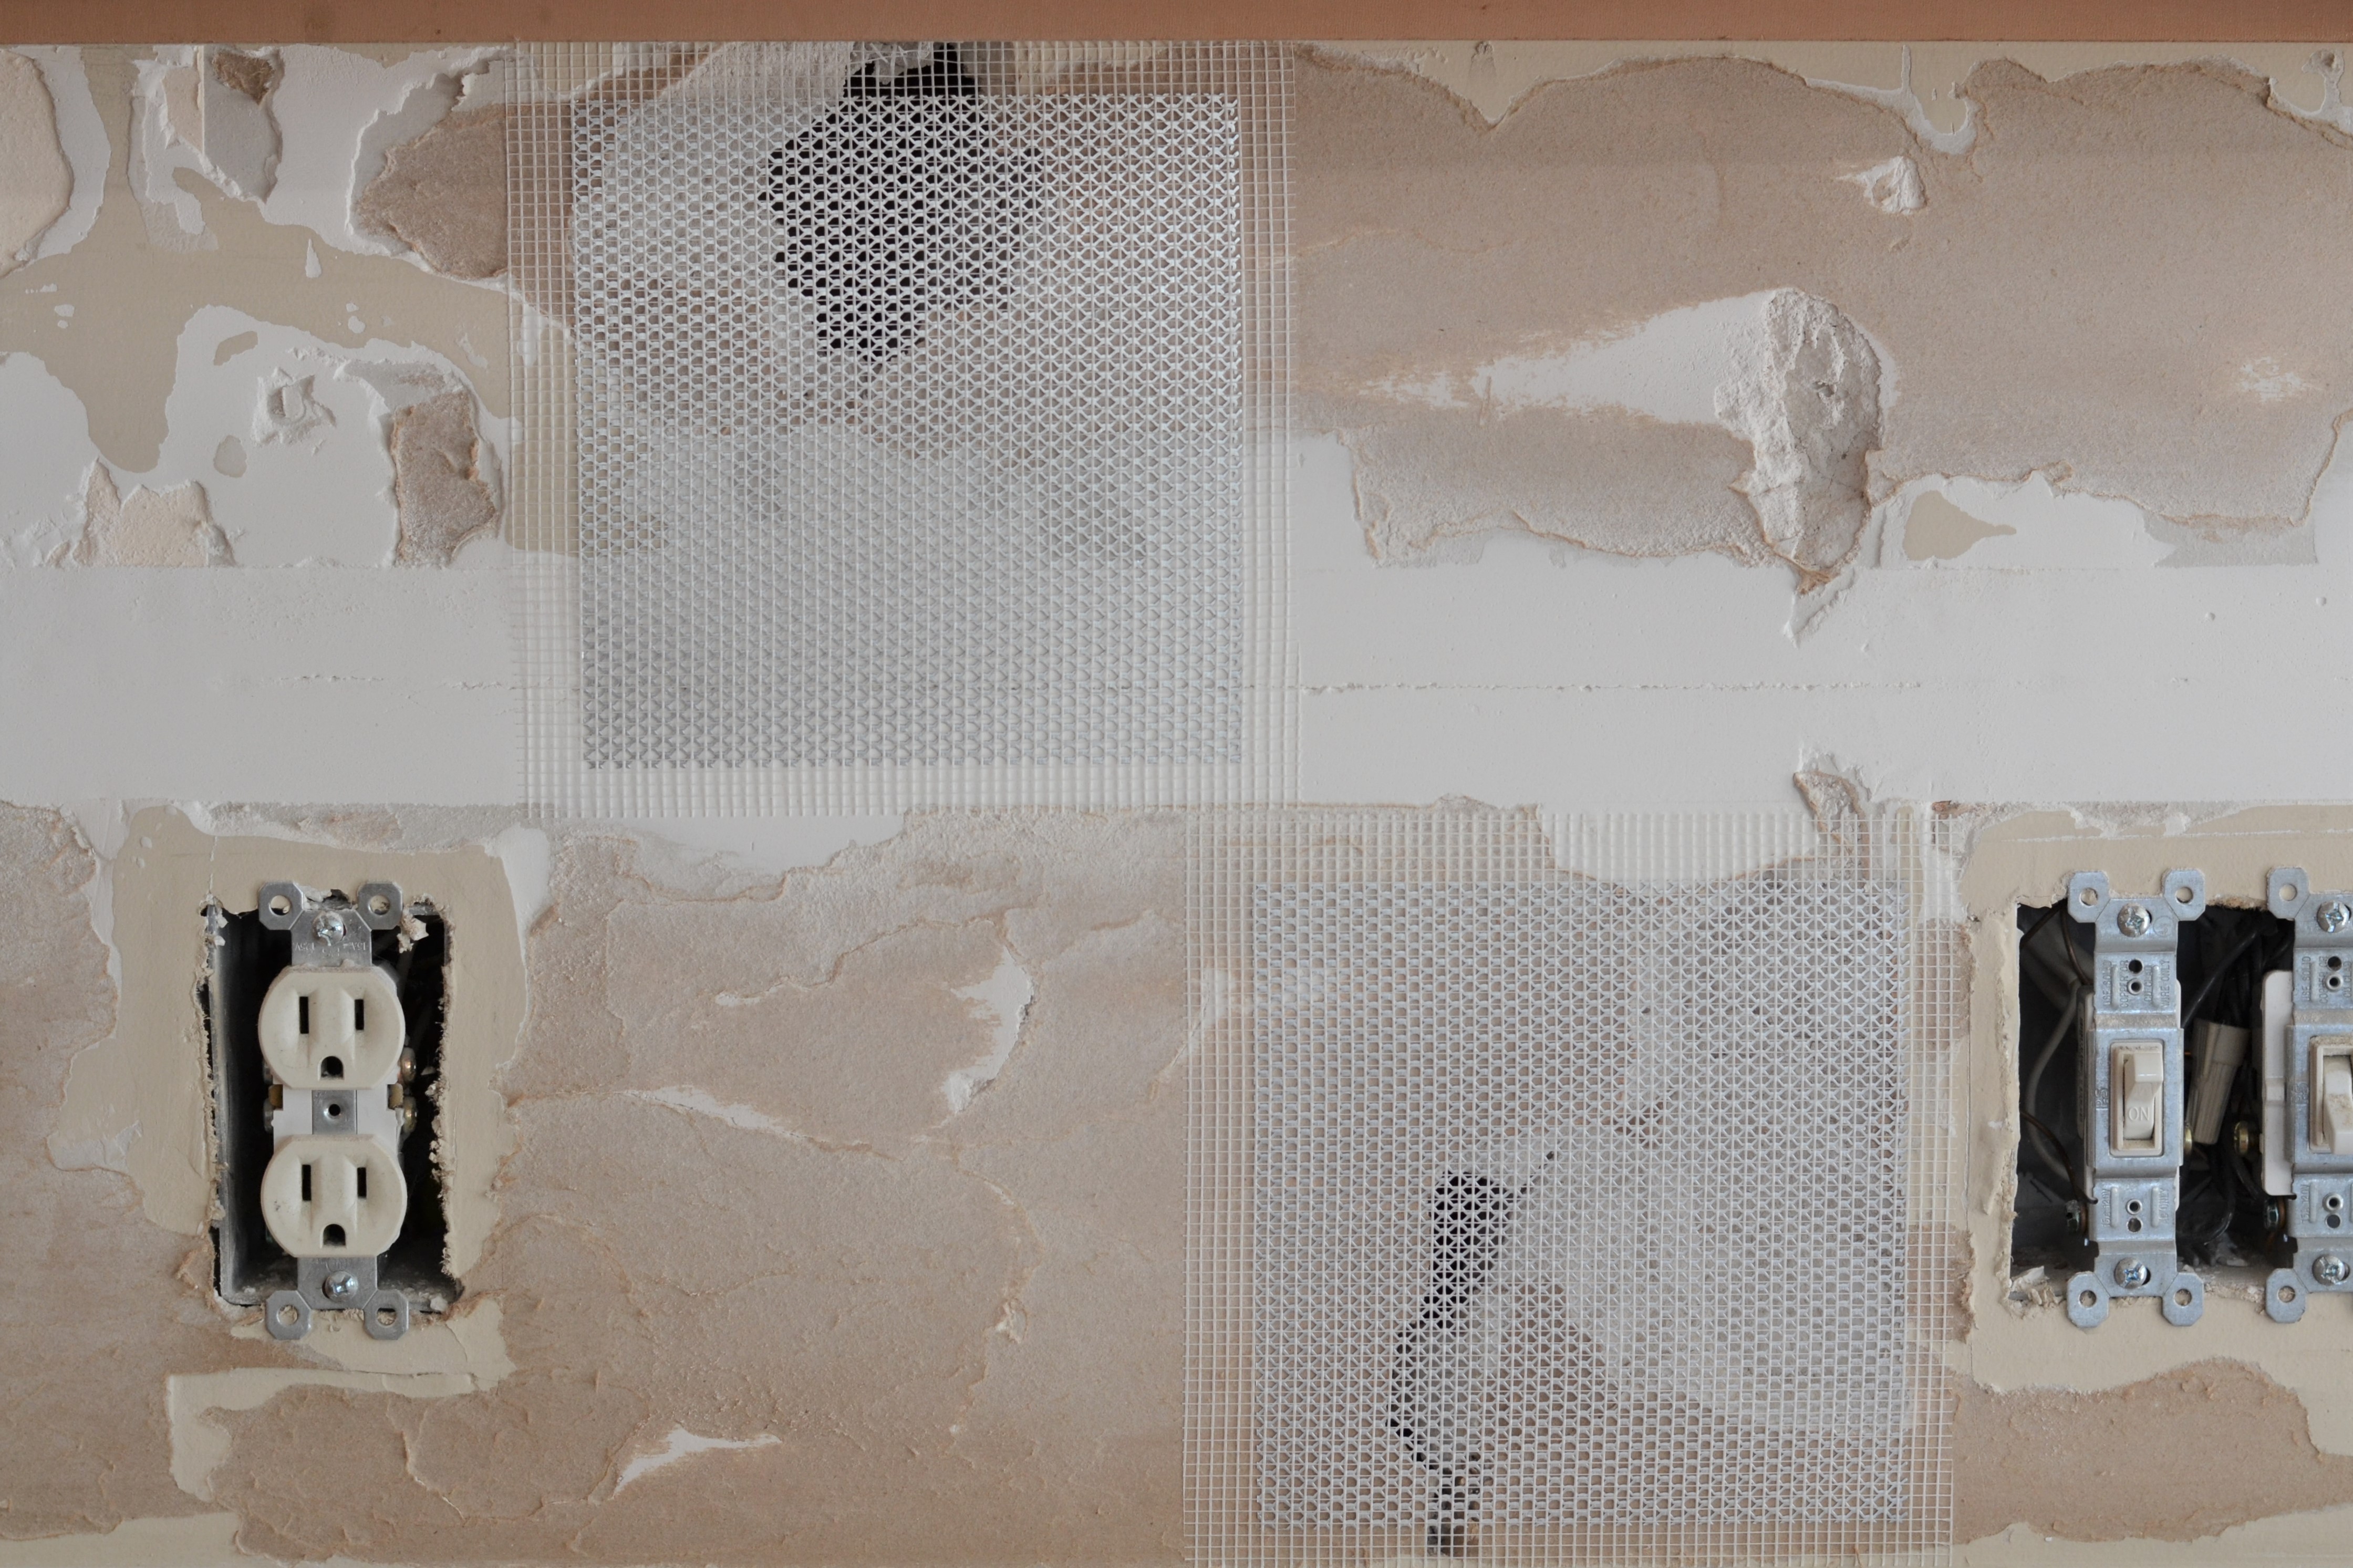
We used the squares and the joint compound to restore the wall to a flush finish.
Using the joint compound over most of the wall to helped the wall be flat and smooth again after lots of sanding of course.
At this point we are getting close to installing the shiplap but one more step.
Outlet repairs
When our home was built the outlets and switches were installed for sheetrock so they did not come out far enough to accommodate the shiplap.
After checking with an electrician they did not suggest that we purchase outlet extenders from our local hardware, rather to purchase from an electrical supply.
We had to purchase outlet and switch extenders with longer screws to accommodate the pine shiplap.
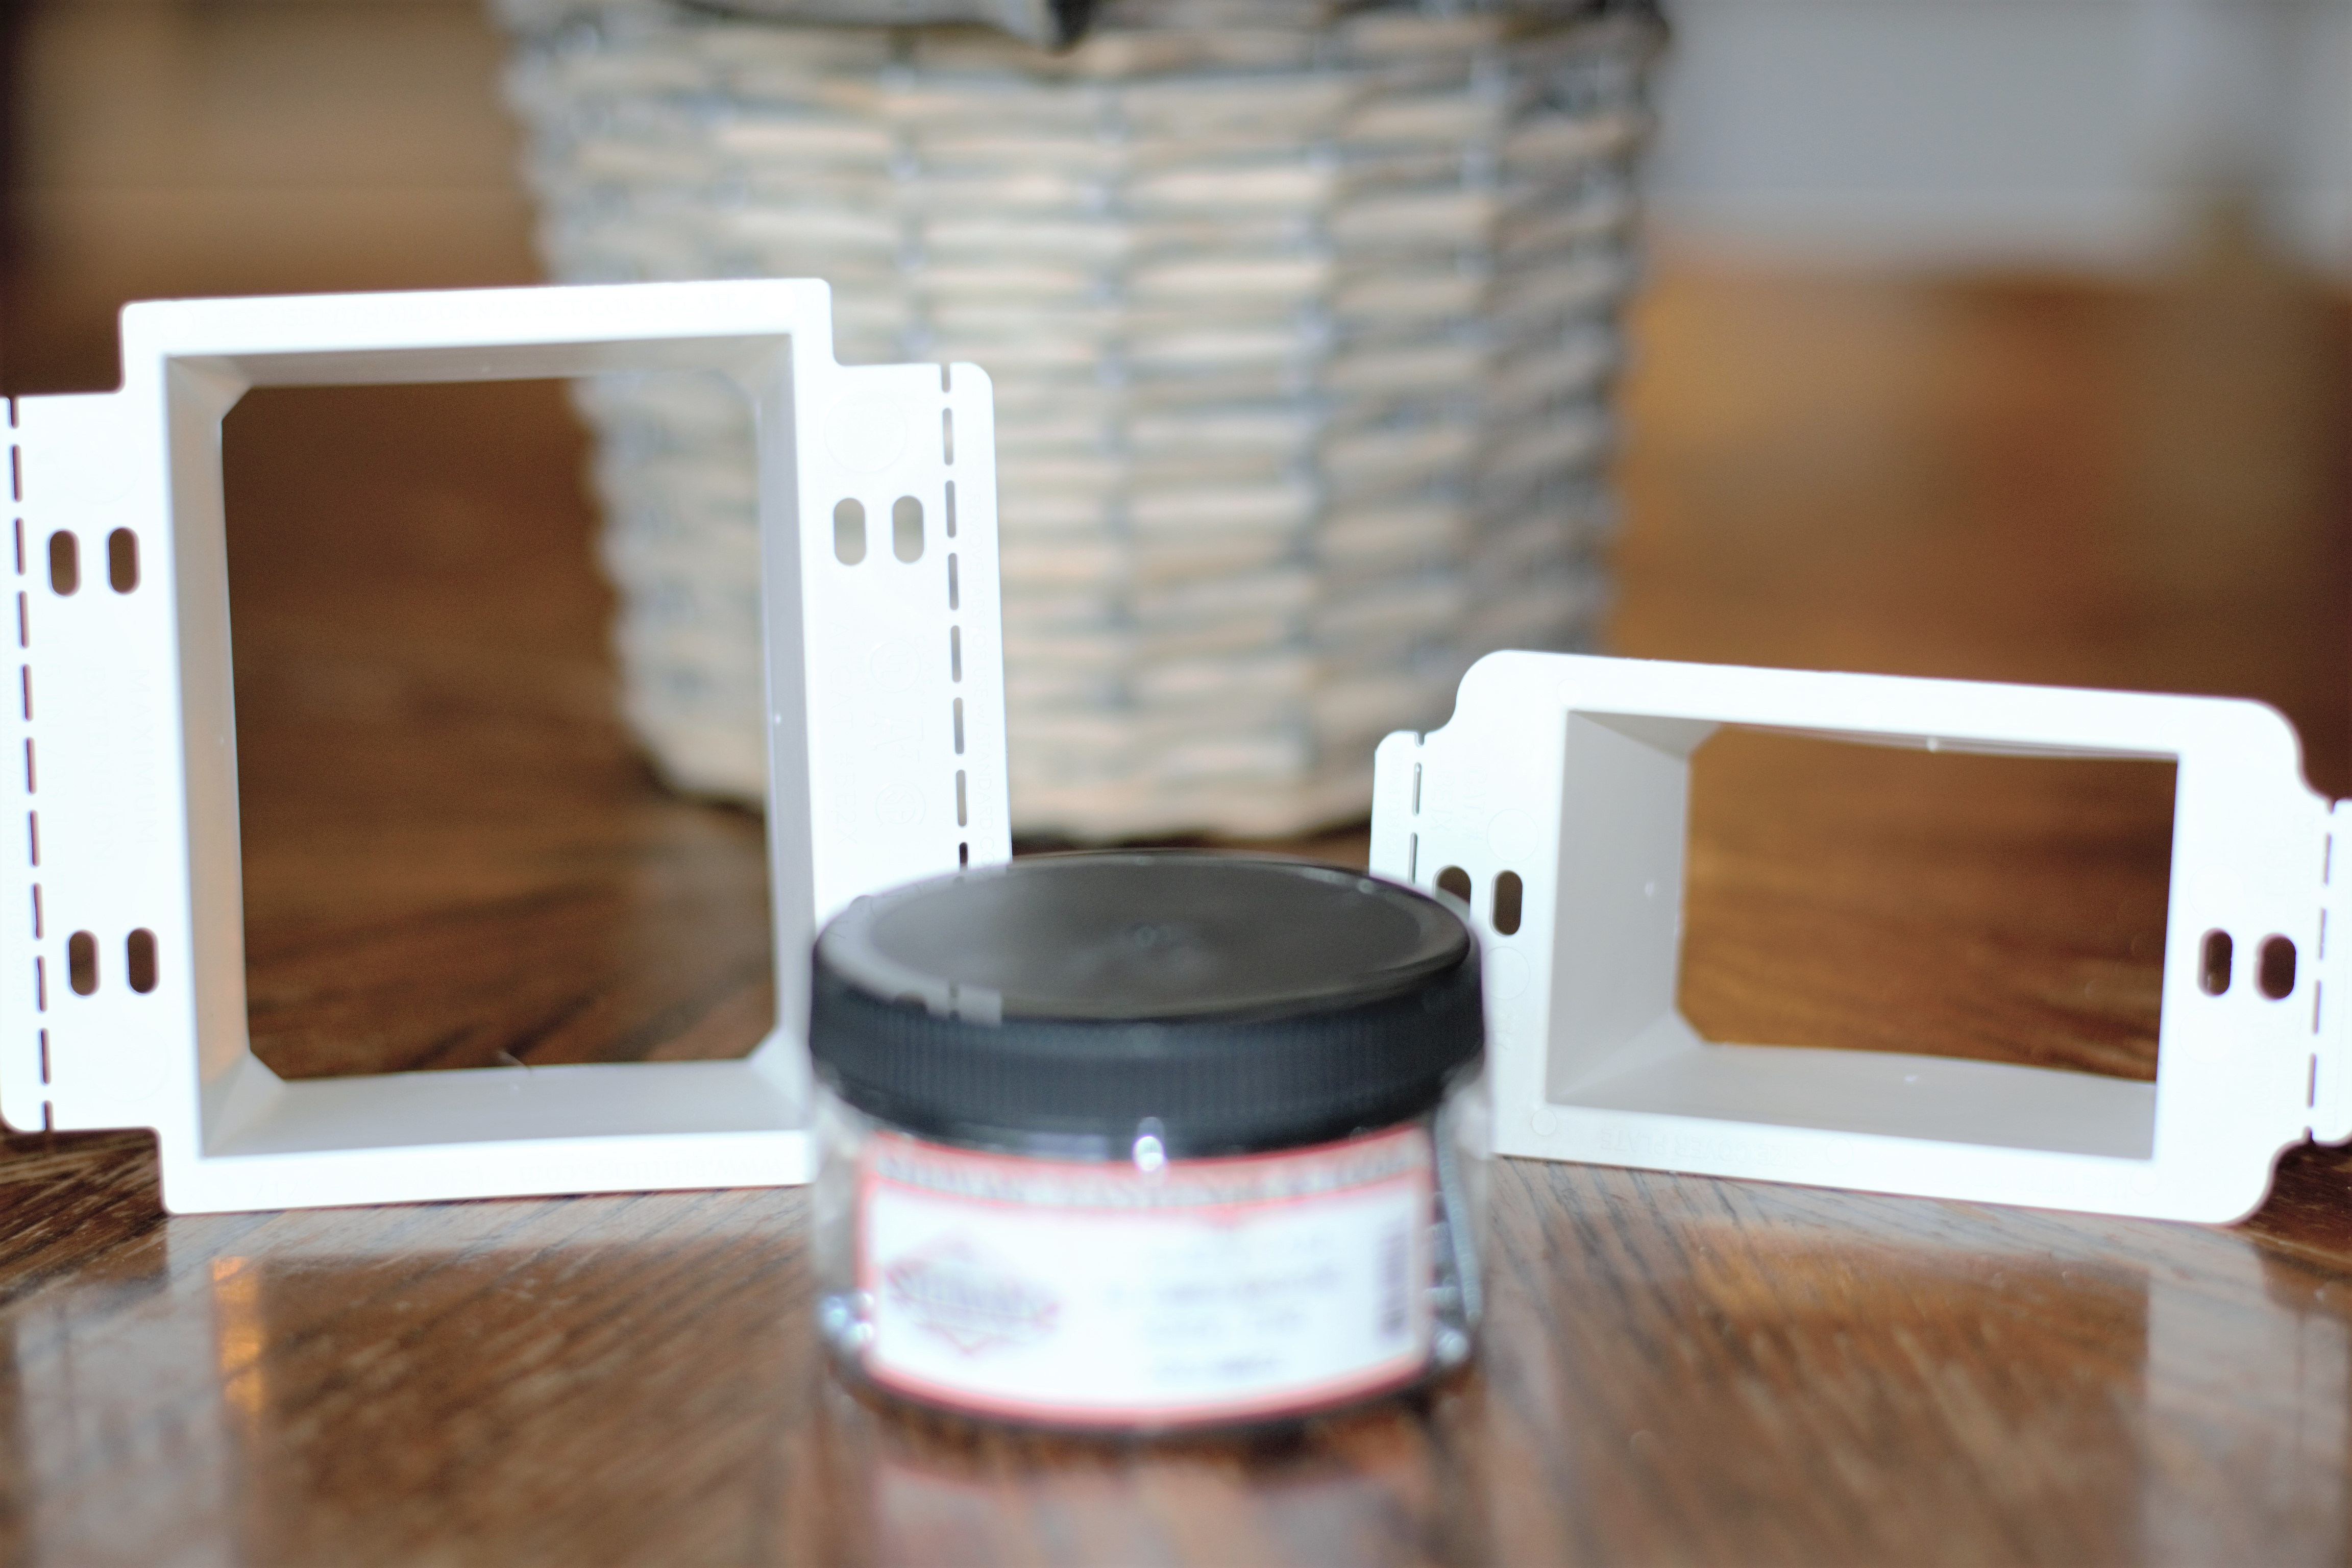
These particular outlet extenders took a little more time for my husband to install.
The box had to be disconnected (after power was cut off and tested) in order to place the extender in the outlet hole.
Using these extenders brought the outlets and light switch boxes out far enough to accommodate the pine shiplap.
This will complete the wall repairs.
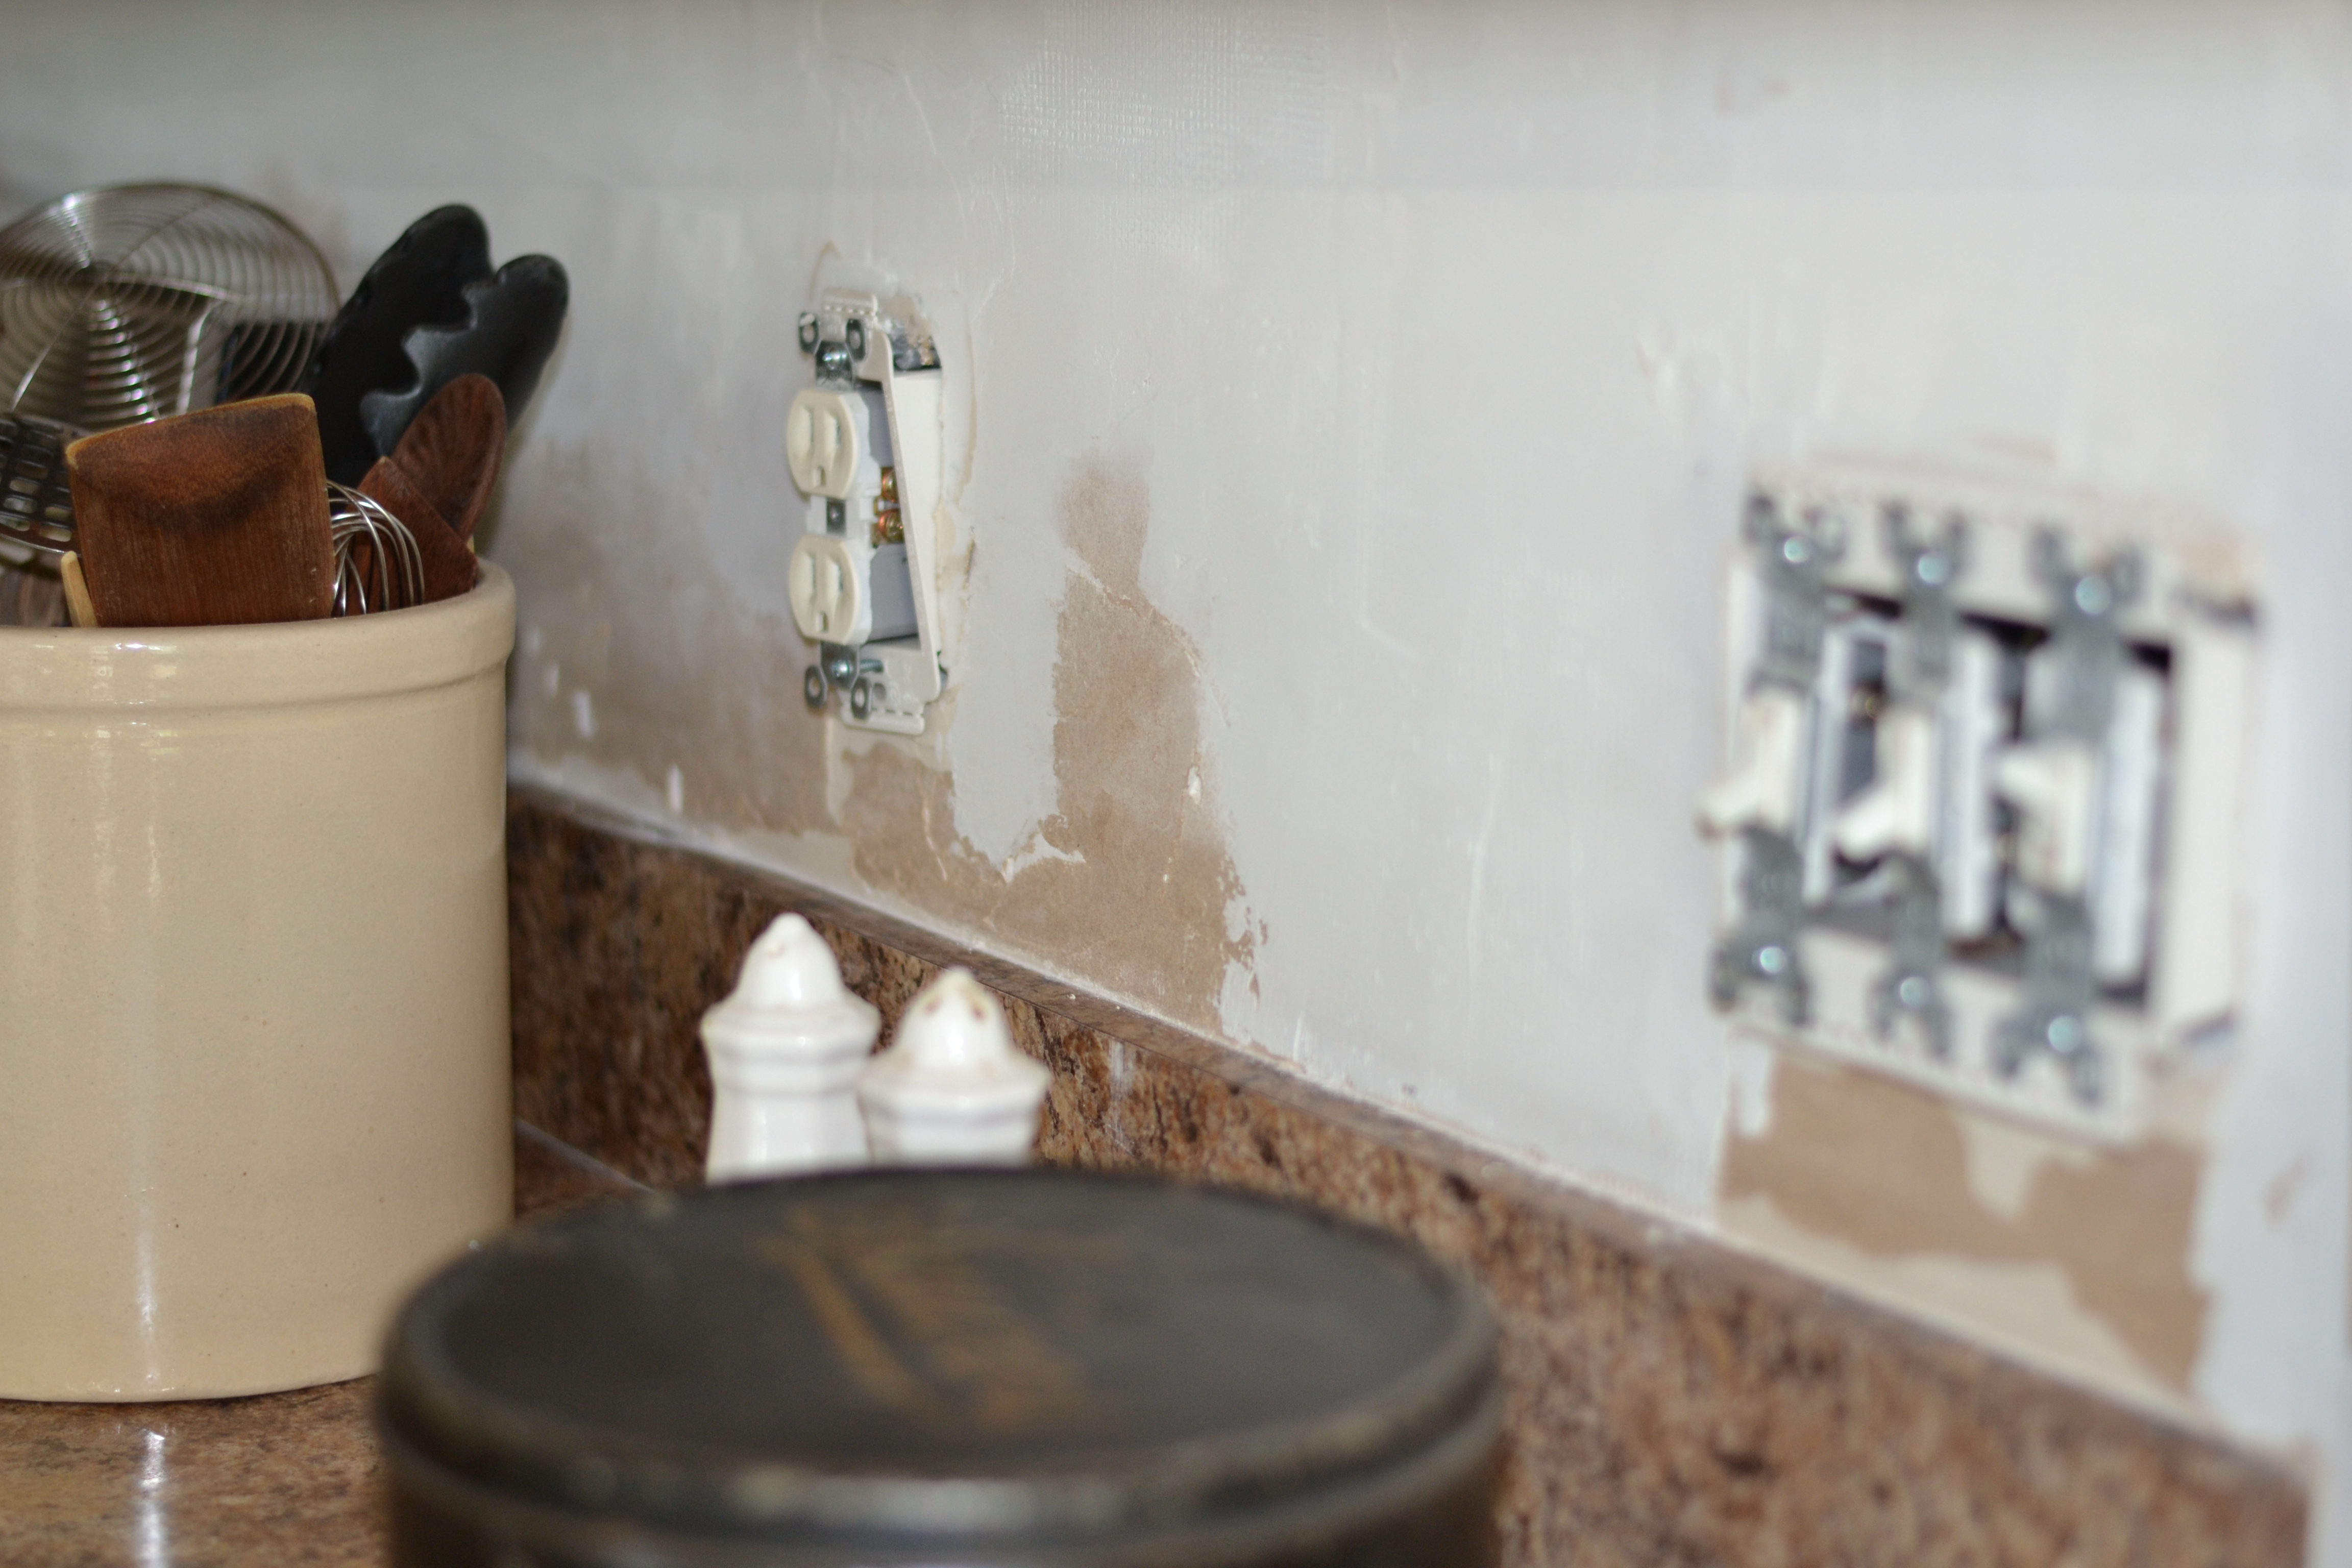
Now that the walls and outlets are restored to a flush finish it is time to install the pine shiplap.
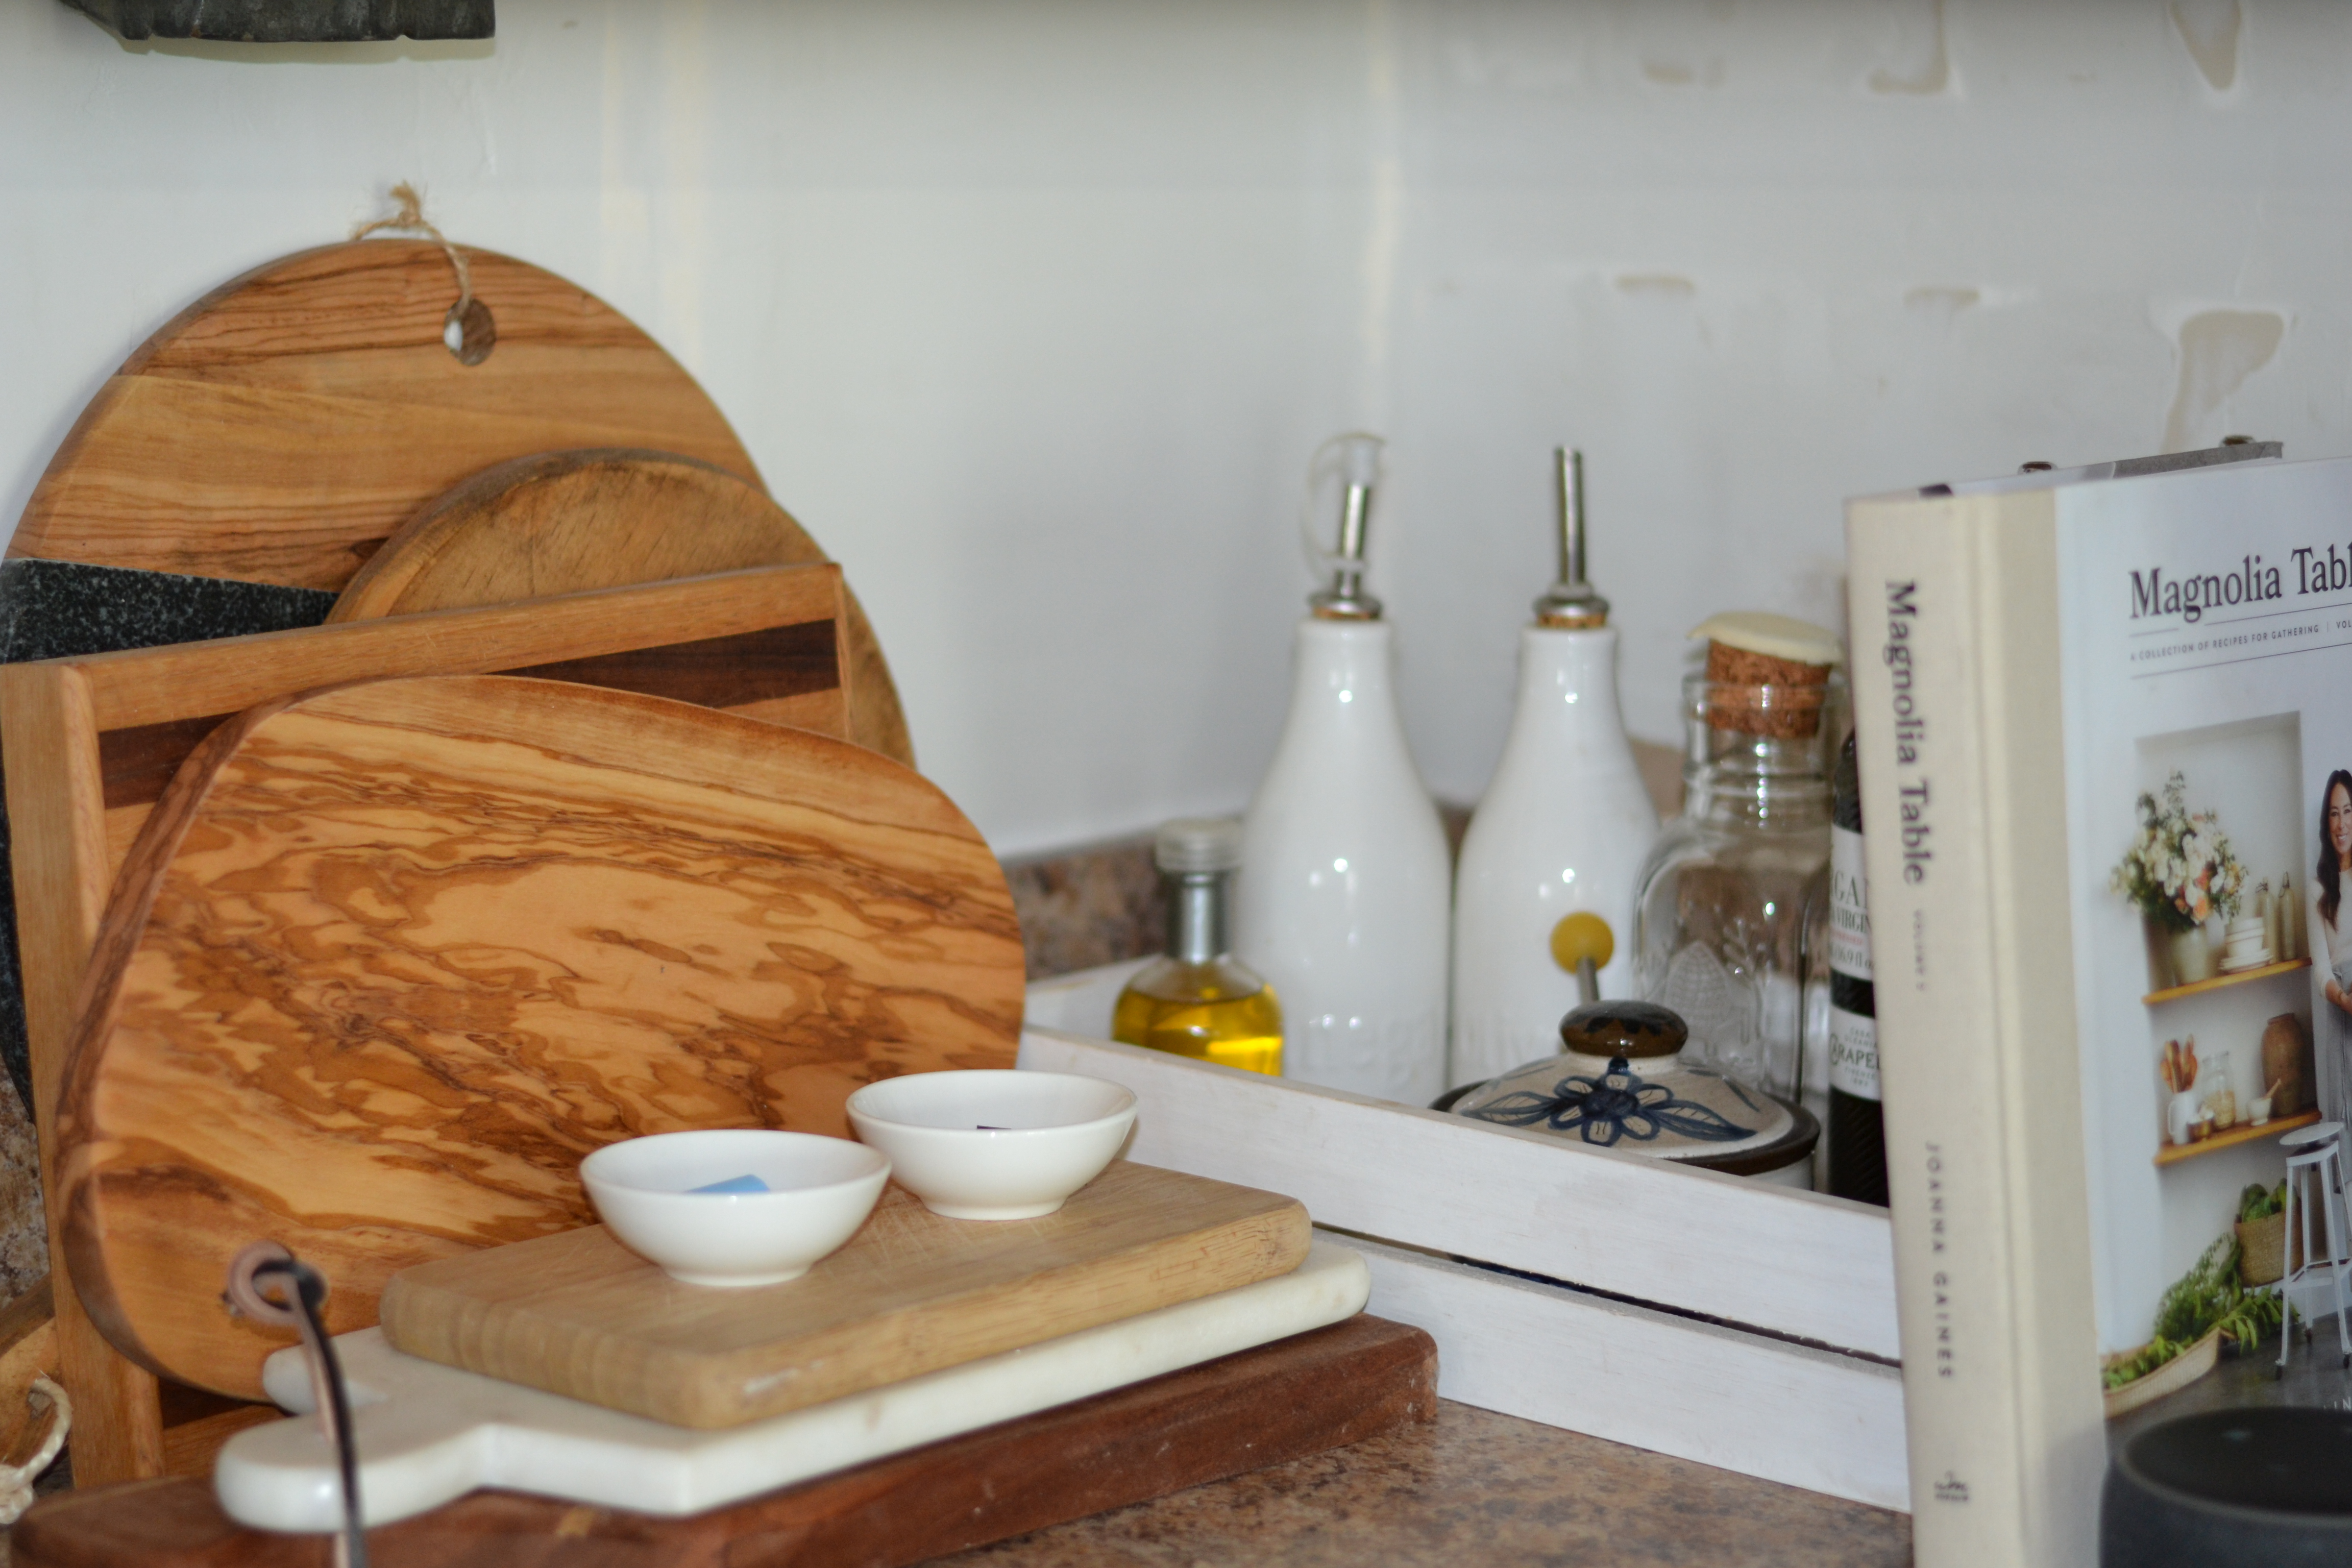
Our lights and cabinets pulls came in the other day .
I am excited to move onto the fun part and finally seeing some change in this space.
Come back next week to see the progress of our budget kitchen refresh.
Be sure to check out and show support to all the designers and guest participants of the ORC here.
Till next time
Xoxo
Sonya



Looking forward to seeing the pine shiplap! Great idea to find a scrap of drywall instead of buying a full sheet.
I look forward to getting it done, the prep work takes quite a while but I am hoping the install goes smoothly. I thought it was a great idea and that way we did not have so much waste that we didn’t need.
That’s a lot of prep work, Sonya! It will all be worth it when you have your stylish new pine shiplap backsplash. I can’t wait to see it! Pinned 🙂
Hi Rebecca, yes it is a lot of prep work but I know in the end it will be so worth it. Excited to get it done.
It’s been so fun following along on this space!
Thank you so much Jenna I am excited to get it finished. Thank you for following along.
The prep work will be worth it in the end! I am excited to see the shiplap. Your kitchen is coming together beautifully! Pinned!
So much prep work but it has so far been worth it, now to get this kitchen refresh done.