Week 2 Jeffrey Court Renovation Challenge – Let the demo begin
As Chip Gaines would say, “it’s demo day”.
Welcome back to the second week of the Jeffrey Court Renovation Challenge.
This week we are doing the demo of our master bathroom shower surround.
Before actually starting with the demo of the master bath shower, it was necessary to get all the tools together.
Tools needed:
- sawzaw
- 2 metal and wood blades
- pry bar
- hammer
- safety glasses
- dust mask
- thick work gloves

These tools belong to my husband and I have a little secret to share.
For this part of the process, I have a of an advantage because my husband works in the demolition industry.
This part was his baby and I helped by carrying out the trash, all 25 bags of it.
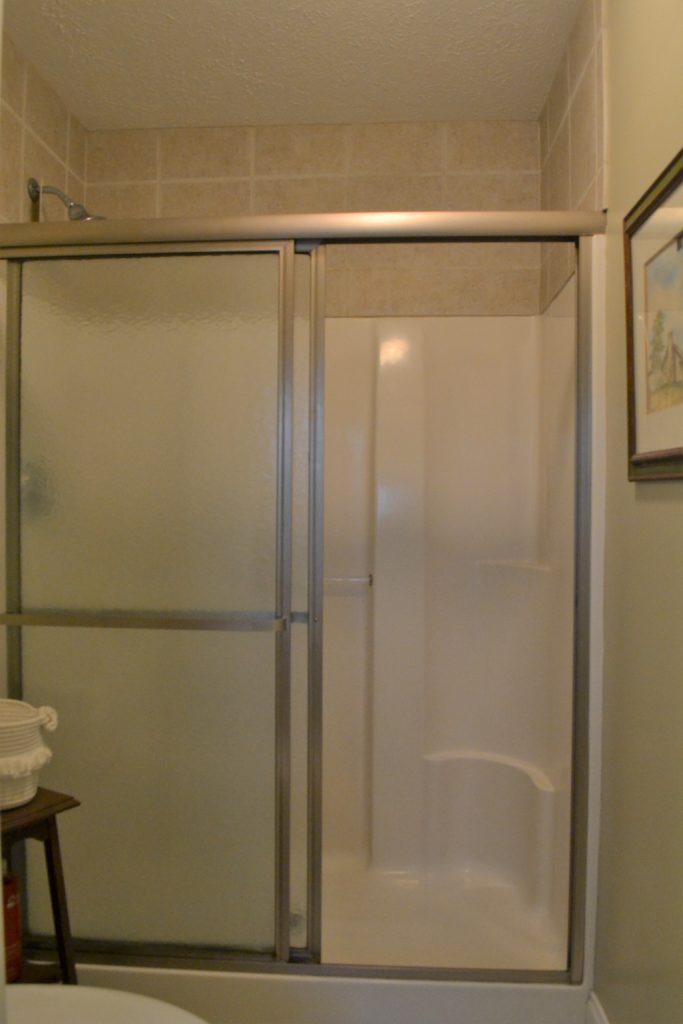
Before I share the demo process, I wanted to show you a picture of the before just one more time.

Remember that we are having to demo this 15 year old shower because there is a crack in the floor. See week 1 here.
Now that you know why we are doing this demo, lets get on with the process.
Demolition process
First thing we did was remove the shower doors and the frame.
After the doors and frame were removed, we taped up the drain to keep it from getting clogged with debris.

Prior to cutting the shower, we wanted to cut the water off in case the water line were to get cut.
Unfortunately we were unable to find the shut off, so we left it on and hoped for the best.
Another concern we had was the possibility of electrical wires being behind the surround.
With that in mind we began with small cuts so we could pull pieces back to see what was behind that area, being sure there were no water or electrical lines.
We did discover that the water lines were very close to the back of the surround, but were able to see them through the small cuts that were made.
There was also blown insulation on the wall where the water lines are since that wall backs up to the stairs and garage.
The insulation was unexpected and made a huge mess, but nothing we could not handle.
Making those small cuts made it possible for us to hammer and cut without any major issues.
During the process of cutting the shower into small manageable sections, we found a few unexpected and interesting things.


One of the things we found was the stud on the right wall where the water lines come in, only went halfway up the wall.
We also figured out what most likely what caused the weak spot in our shower floor that eventually led to the crack, a large hole around the drain.

After removing the tape from the drain, it broke off.
Turns out that this is not a big deal because the plumbing needs to be changed to accommodate the new shower floor.
While cutting the surround a few of the studs were cut a little bit by the sawzaw.
To shore up the studs we bought and cut small sections of a 2 x 6 stud to nail to the existing stud to reinforce them.
From start to finish this demo took around 5 messy and exhausting hours.
Glad that part is over, we are ready to move on.
Now we are moving into the fun phase of making repairs and prepping for tile.
Next steps:
- replace insulation on the outside wall
- repair and replace the floor drain
- cement patch the hole around the drain
- install cement wonder board
- replace the shower head and plumbing
- replace the shower control
- finish building out the stud that was partially missing
- create shower pan from concrete
- build shower curb
We are so excited to be part of such an amazing opportunity, and a little nervous for the next phase of work.
You can head to the Jeffrey Court page to see everything there, and to vote beginning next week.
Come back next week to see the repairs and prep for tile in this master bathroom renovation with the Jeffrey Court Renovation Challenge.
Till next time
Xoxo
Sonya


Wow Sonya! What a big job…and 25 bags of trash! Looks like you’re off to a great start. Can’t wait to see how it turns out!
Hi Rebecca, I know 25 bags of trash. I had no idea just how much trash we would create but it has been a fun process so far. Excited to have you follow along.
So excited to see the whole process!
Hi Katina, excited to share it all with you. Thanks for stopping by.
Sonya, I’m imagining you, covered in blown in insulation, stuffing all those trash bags! Wow! Girl, I can’t wait to see what happens next!
Annie it was a sight for sure. Cant wait to share more.
Always something, right? You shower looks amazingly like mine, including the big brown tiles at the top! 😉
Yes, there is always something you run into on a renovation. We were lucky that it was not anything big.
Cant wait till its all done.
I know what you mean.
Oh wow! This looks like a big job – I can’t wait to see the finished space.
>> Christene
Keys to Inspiration
It was not too bad Christene, I am excited to get it done and be able to share the finished shower.