Restoring a lamp in three easy steps
If you have ever found a beautiful lamp at the local thrift store and didn’t purchase it because you were unsure of how to restore it. Today I am sharing how to restore a lamp in three easy steps.
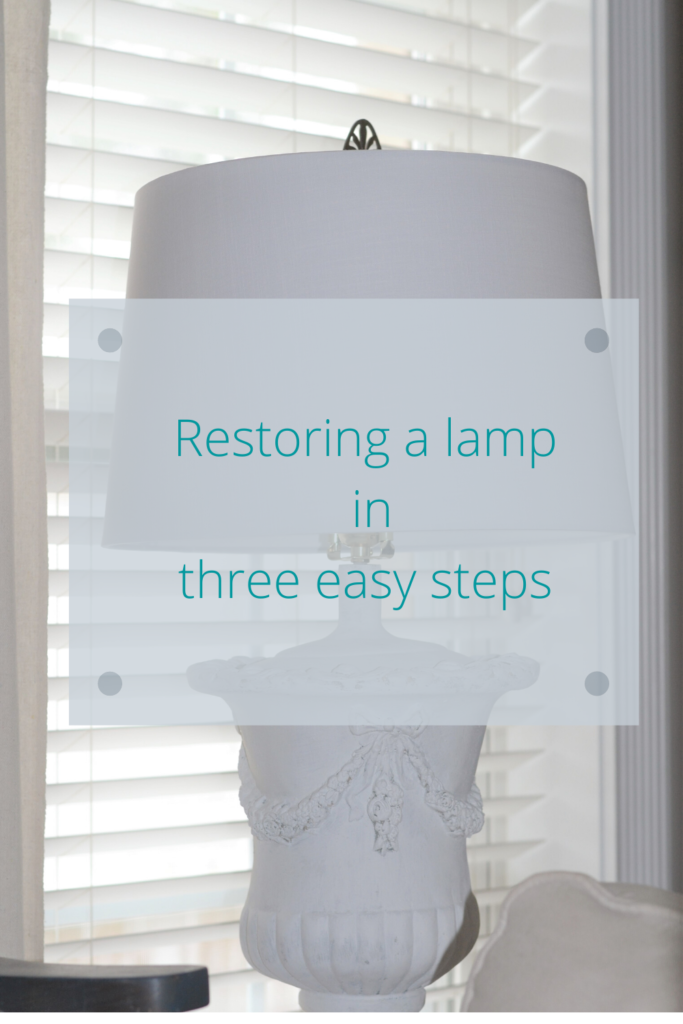
If you have been around here any amount of time, then you know I love shopping and decorating my home on a budget and that often means thrifting.
Over the years I have come across some beautiful lamps that I did not purchase because the socket or harp was broken.
Well a few weeks ago I was at the local Habitat Restore and they had a ton of beautiful lamps.
I found a concrete, French style lamp with a bent socket for ten dollars.
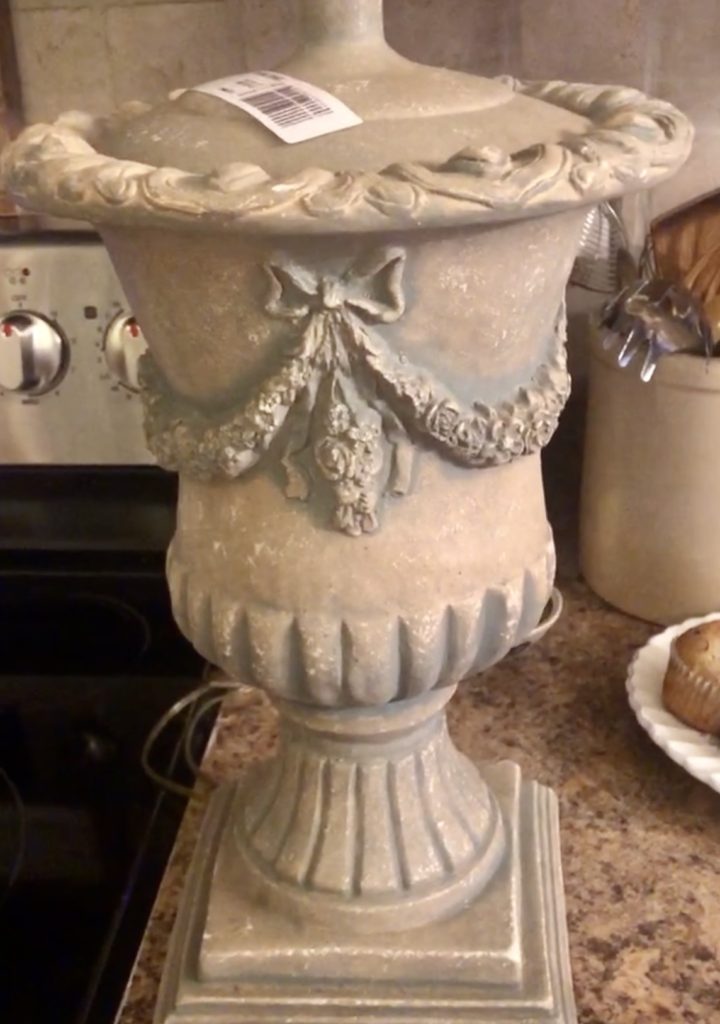
Though I had never worked on a lamp before, this one I could not pass up so I made the purchase.
I felt certain that I could figure out how to fix it with my husbands assistance.
Before I started repairing the bent socket I painted it with two coats of Rustoleum Chalked paint in White Linen.
I let it cure for several days before I began the process.
Today I am sharing how I restored the lamp in three easy steps.
Step 1 – wiring repair
To start this process by taking the lamp shade off and remove the harp and socket.
In order to remove the socket I twisted the base several times to loosen it and then pressed where it says”press” with a butter knife to work it apart.
Using a screwdriver to loosen the small screws on each side where the actual wiring is.
Once the socket is out you can remove the old plug and cord by pulling it through the bottom.
Now it is time to replace the cord.
Step 2 – cord replacement
On to replacing the cord by pulling it up through the bottom of the lamp..
In order to see how the cord is threaded, pull back the felt bottom that protects your furniture.
Now you should be able to see where to thread the cord.
Honestly this was the hardest part of this project because this lamp is tall and the opening was dark and narrow.

Neither my husband or my hands could not fit in the opening so we had to get creative in how to get the cord through the tiny hole.
We ended up using electrical tape and taped the lamp cord to some stiff cording my husband had.
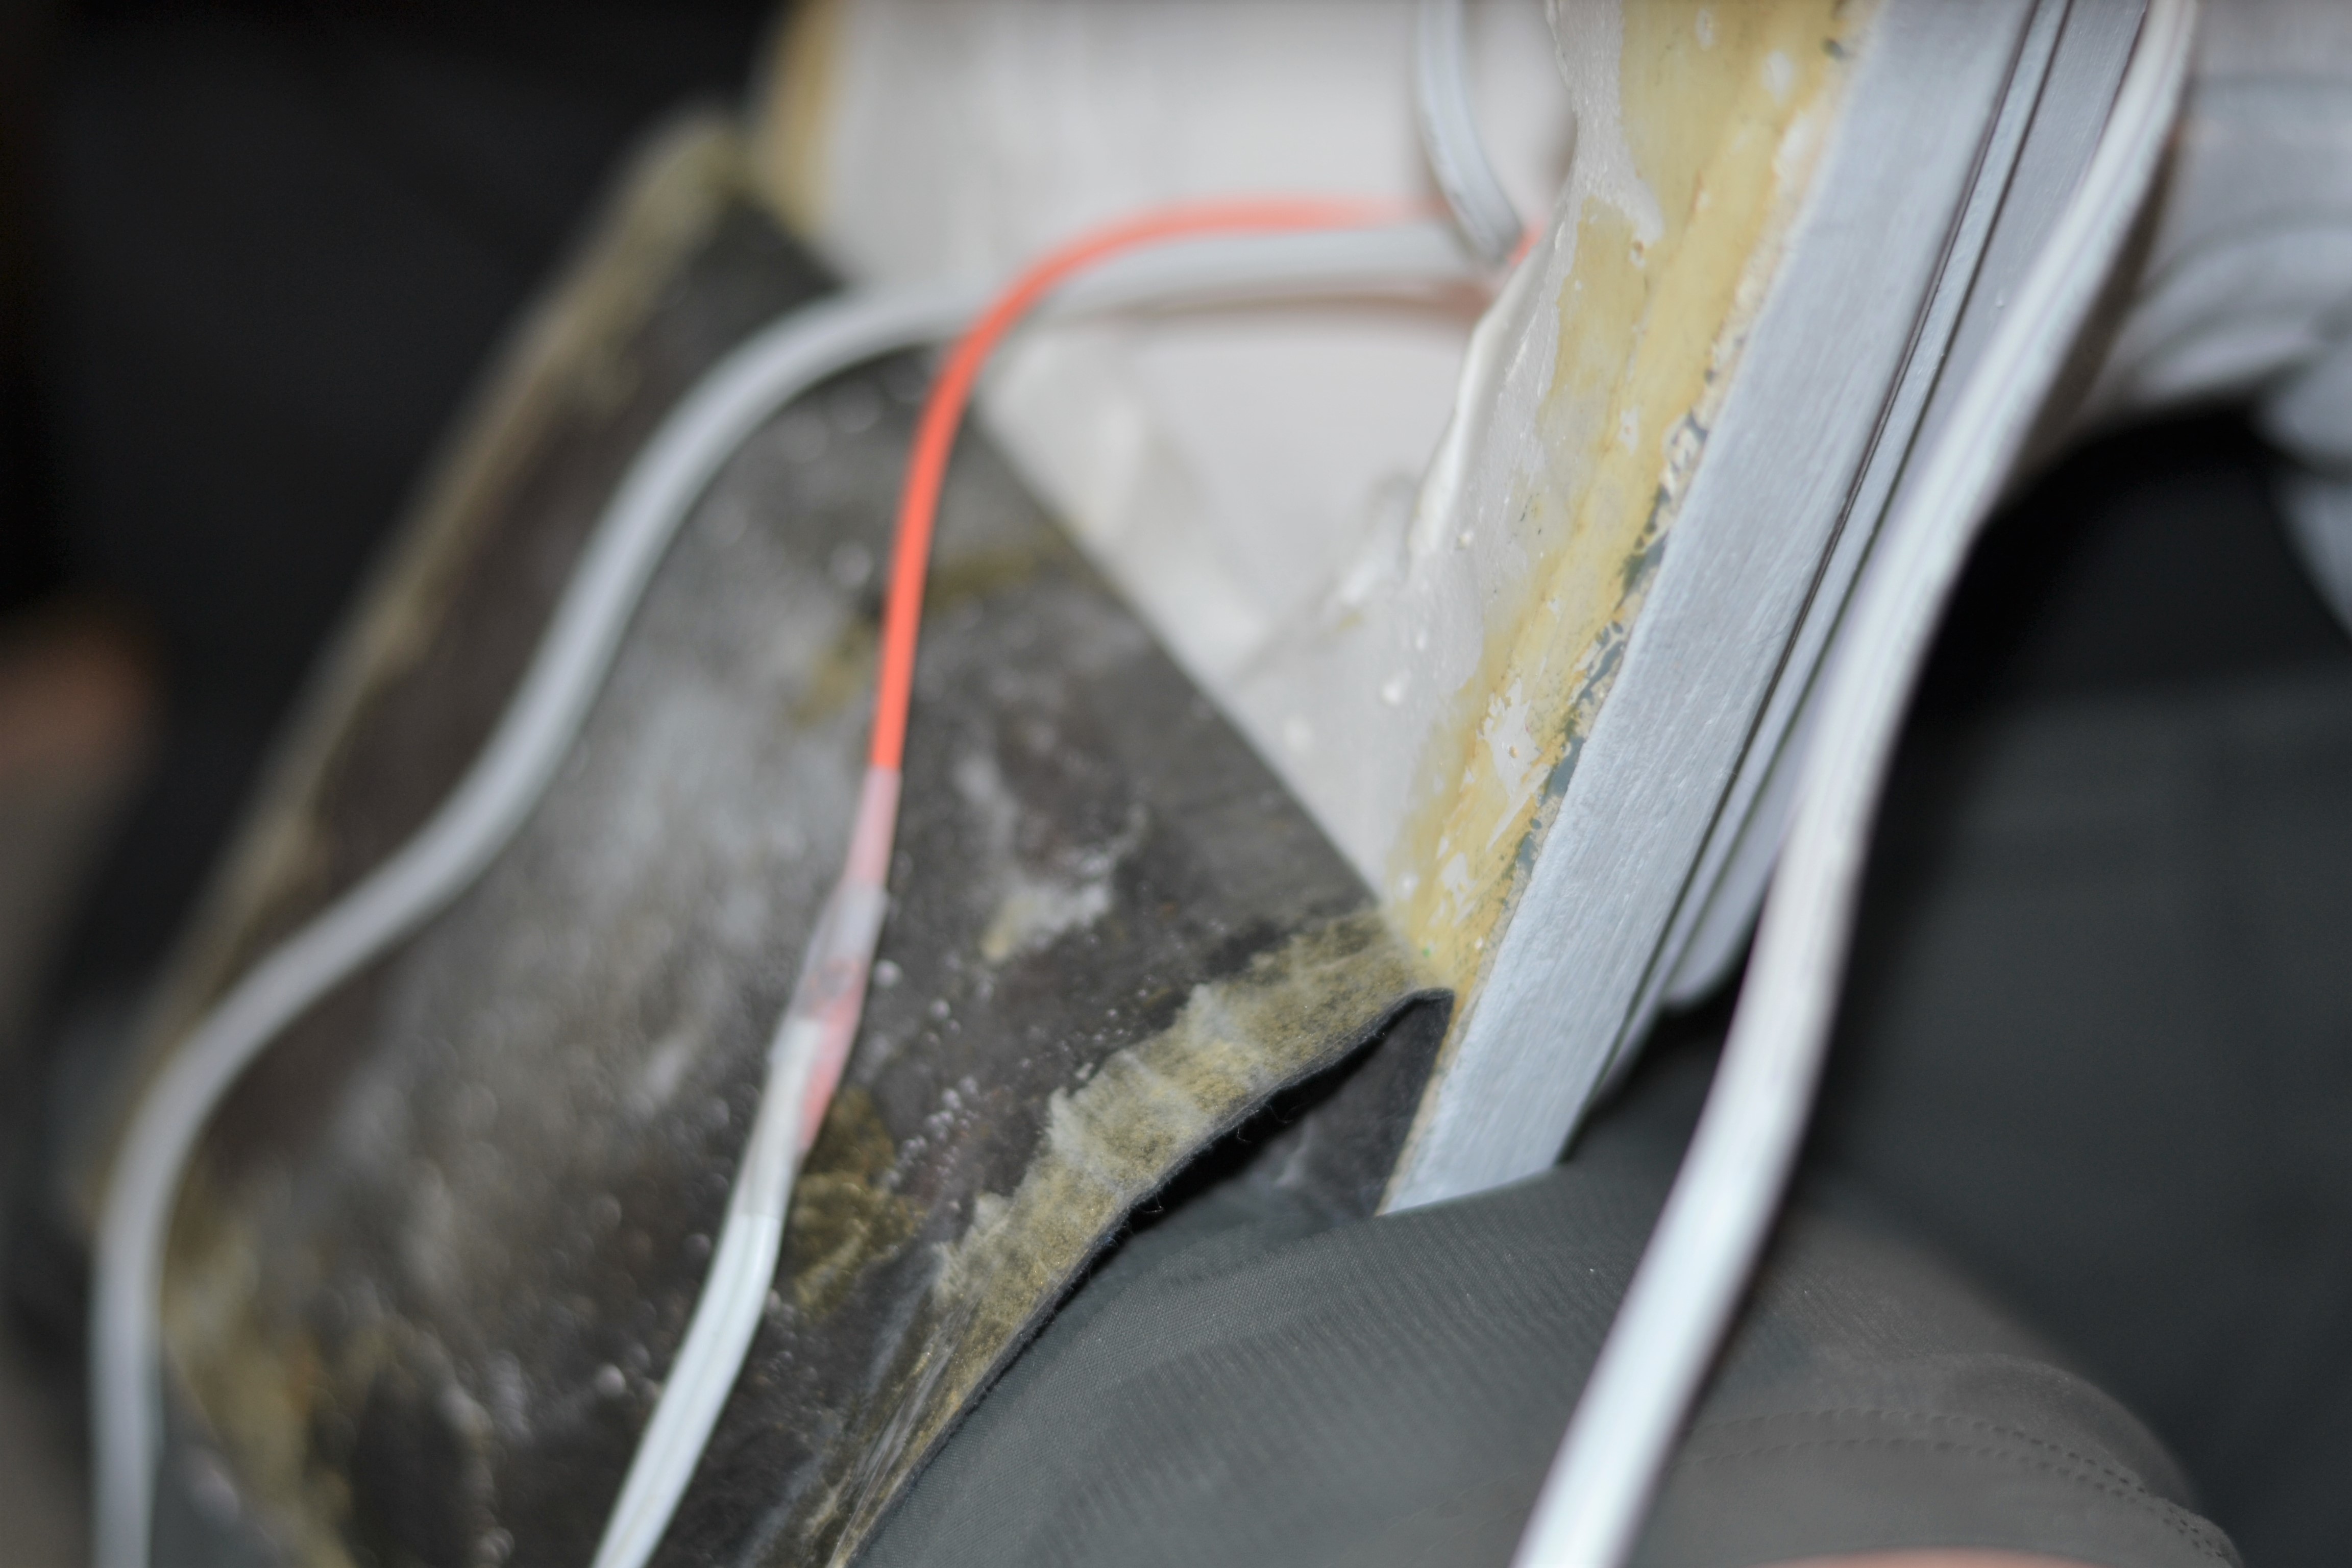
Then we used a wooden skewer to feed it through the hole and pull it through entirely.
This was time consuming and a little frustrating taking about thirty minutes just to get this part done.
Once the cord is pulled through you can remove the electrical tape and get ready to attach the cord to the socket.
Step 3 – attaching the socket
Before going on be sure that your lamp has no electrical source coming in.
Wrap your wires around the small screws on each side of the socket and tighten the screws, being sure to have a tight fit of all wires.

Before continuing it is a great idea to plug it up to test it and be sure everything is done correctly and your lamp is working.
Now you can push your socket together and place it on top of the lamp base.
All of these specific instructions come with your lamp kit so it should be easy to continue this process.
Decide if you are adding a harp, if so that goes on before you attach your socket completely.
Seal the felt protective layer on the bottom and put your lamp shade on.
In just a short time you have restored your lamp in three easy steps.
Now you can enjoy your newly restored old lamp for many years to come.
If you really enjoy adding vintage items to your home decor then this post is a must read.
I hope that this simple way to restore your lamp will help you to not over look those amazing lamps you see at your local thrift or Habitat stores.
Till next time
Xoxo
Sonya
