How to create a ribbon tassel with scrap ribbon
The holidays are getting closer and if your dreaming up ways to pretty up those gift boxes under your tree, I have a fun little craft for you. I am sharing how to create a ribbon tassel with scrap ribbon.
This post contains affiliate links at no extra cost to you. You can read the full disclosure page.
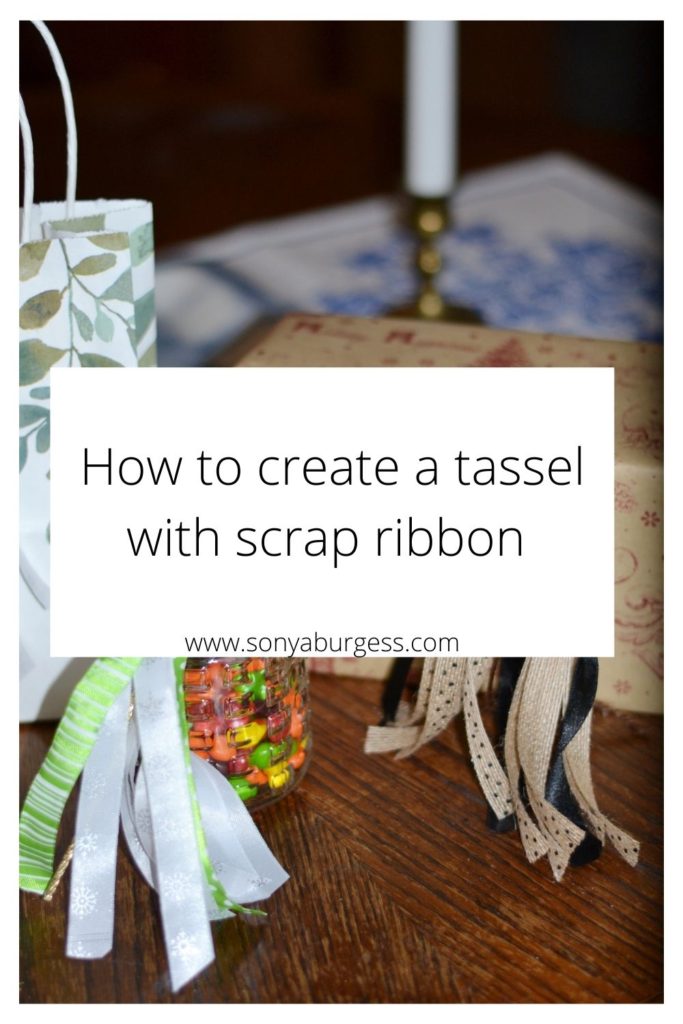
This year I wanted to come up with a unique way to make my packages prettier because I am not the best package wrapper.
And because I have had a bucket of ribbon that has not been used in quite a while that I wanted to use up.
Using scrap ribbon that I have had sitting around does not cost a thing so it is great for the budget.
You may need to purchase some if you don’t have enough but the Dollar tree has great ribbon.
You can use leftover and or new ribbon, whichever you prefer.
The idea here is to get creative in what you use.
If you need to purchase wood balls I have them listed in my Amazon store.
I am using my leftover ribbon (some never used) from Christmases past.
Below is a list of supplies needed.
Supplies
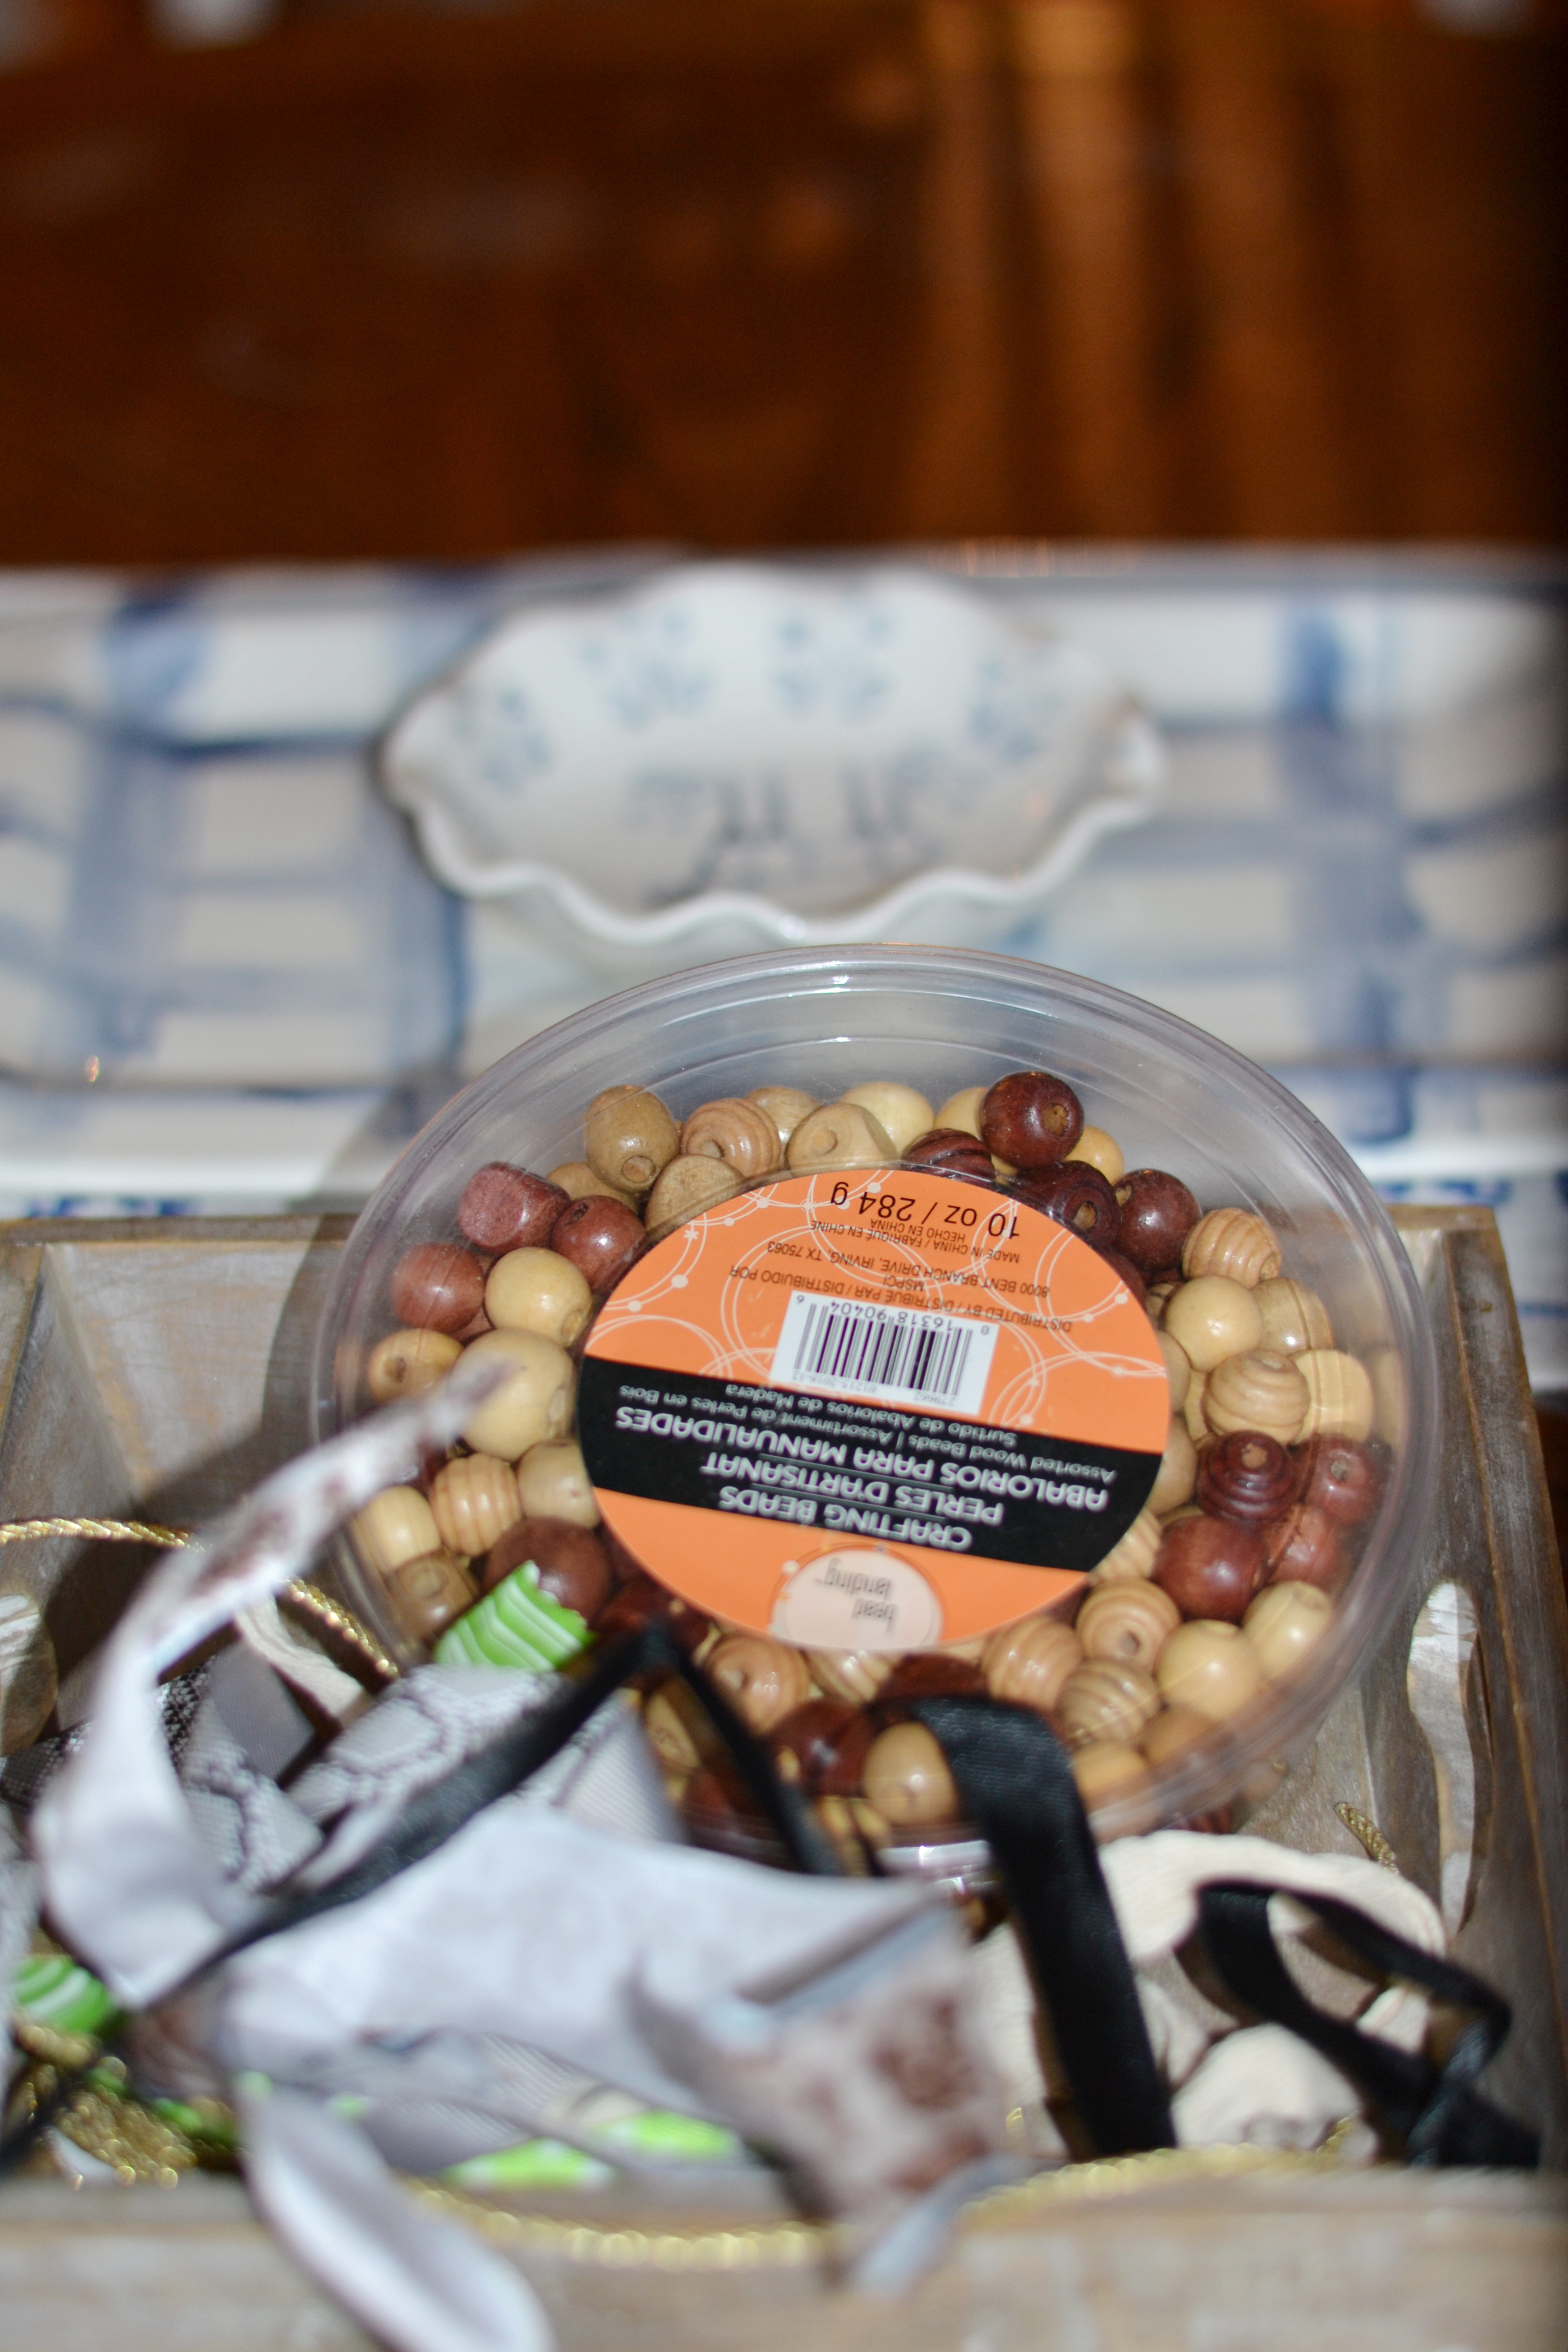
- small wood craft balls
- glue ( if you need to use thinner cording to keep it from coming out of the wood ball)
- ribbon strips
- gold or silver thin ribbon or bakers twine
Step 1
After getting all your ribbon together, measure each scrap of ribbon to 10 inches and cut each piece to that length.

Now your ready to pick out what ribbon you will use together.
Step 2
Lay out your cut ribbon that you will using together, using between 8-10 or more if you want a larger, fuller tassel.
Time to get your other supplies together.
Step 3
The wood balls can be left natural or painted if that is what you prefer. I left mine natural.
Ready to start assembling your tassel.
Step 4
Pull your thin cord through the hole, loop around your finger and pull back through creating a 1 to 2 inch loop at the top.
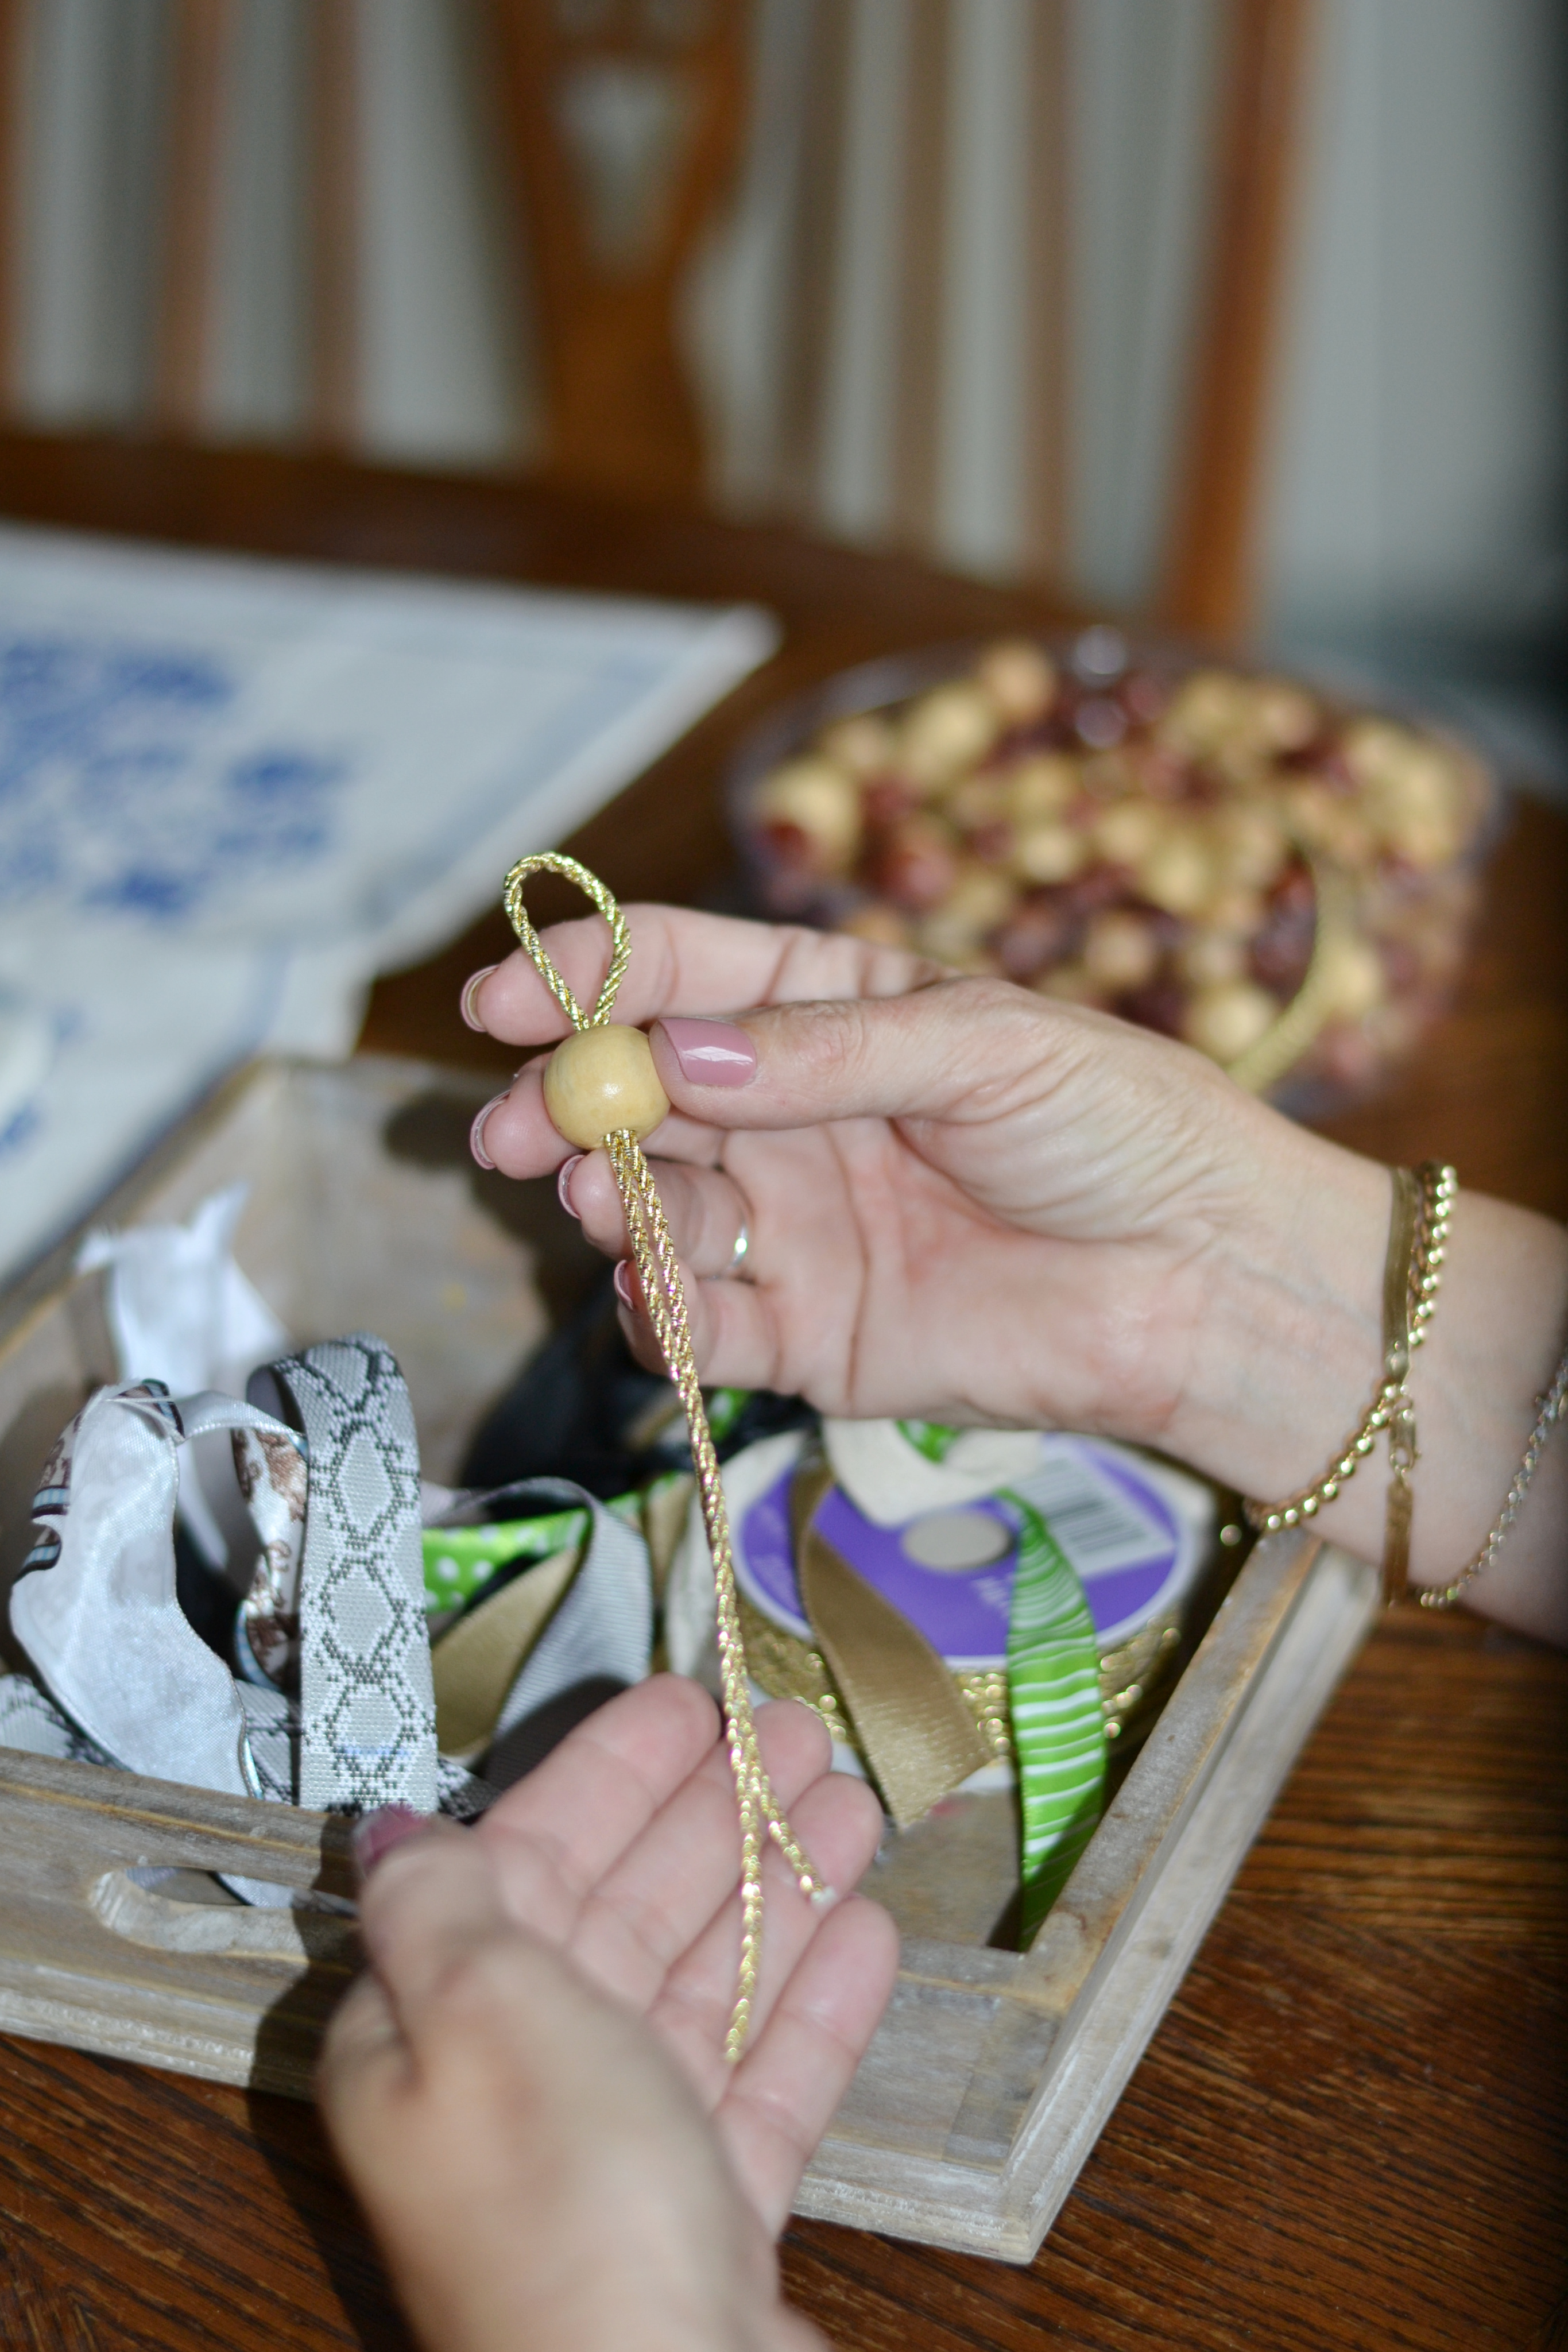
Be sure to keep your finger in the loop before going to the next step.
Step 5
After pulling your thing cord back through the hole make a knot at the bottom of the wood ball, leaving two strands to tie around your ribbon.
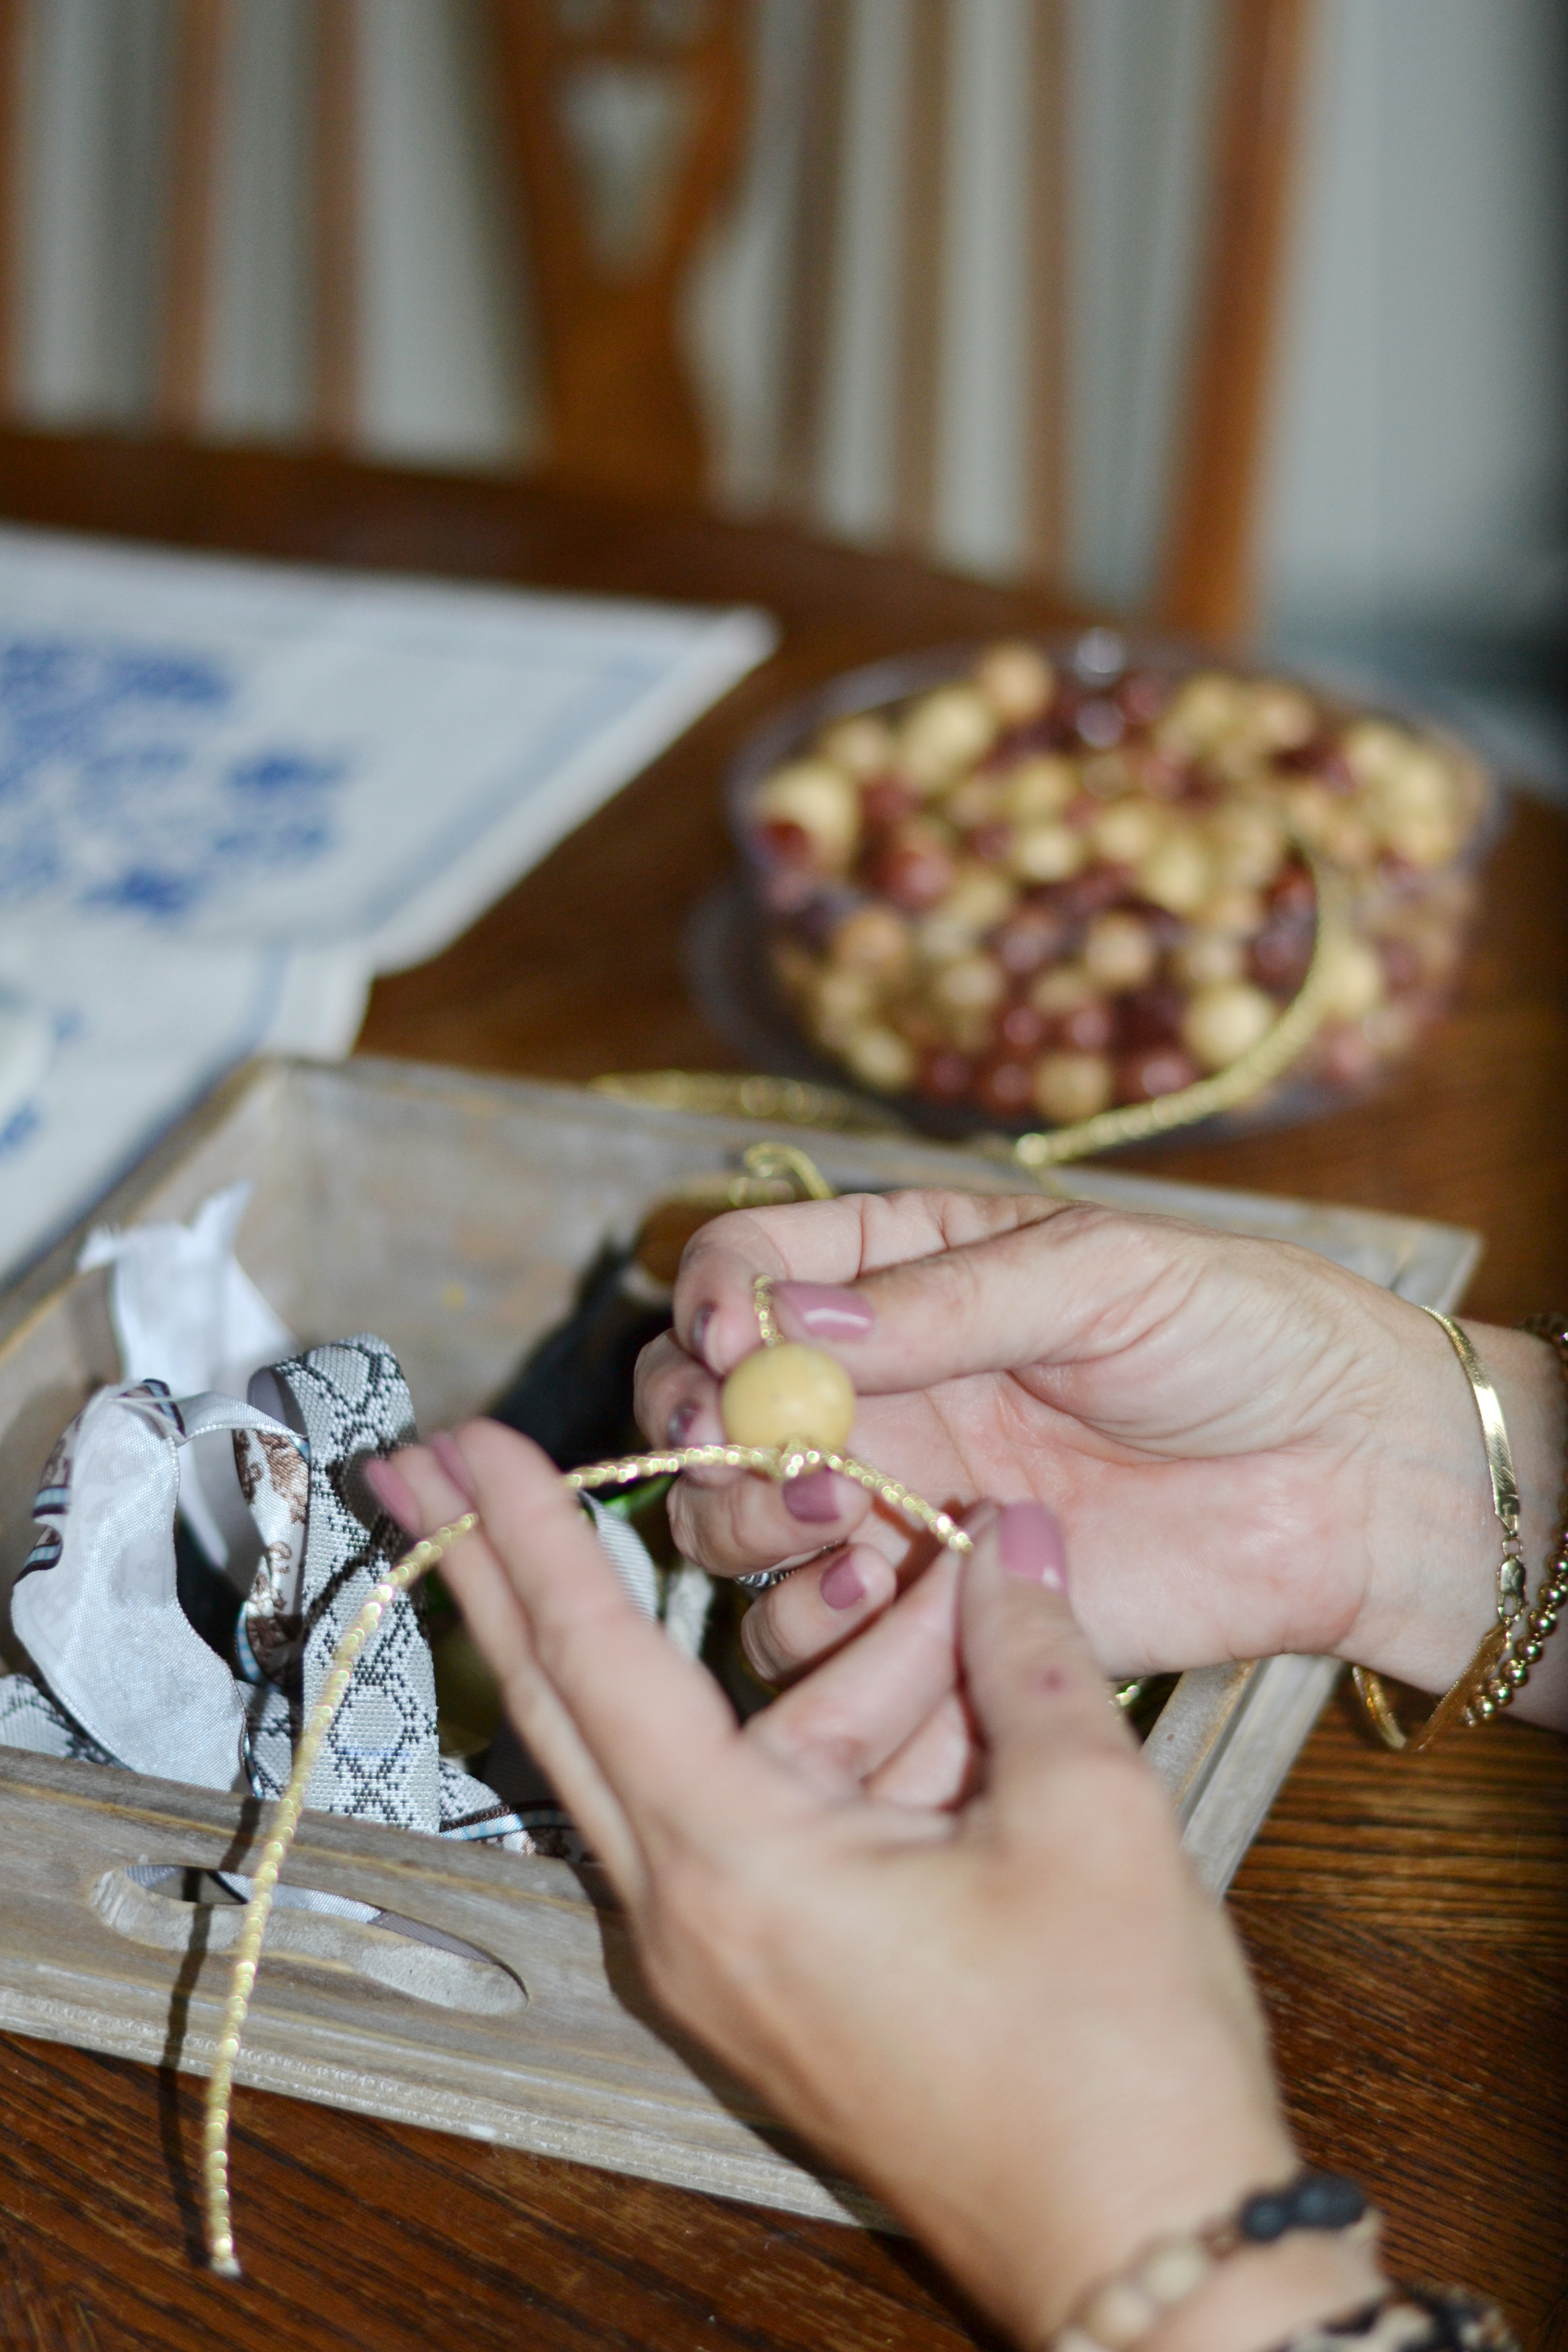
Remember to keep your finger in the loop so it does not pull through in the next step.
Step 7
Pull your cord tight and tie around the 10 inch pieces of ribbon and knot underneath.
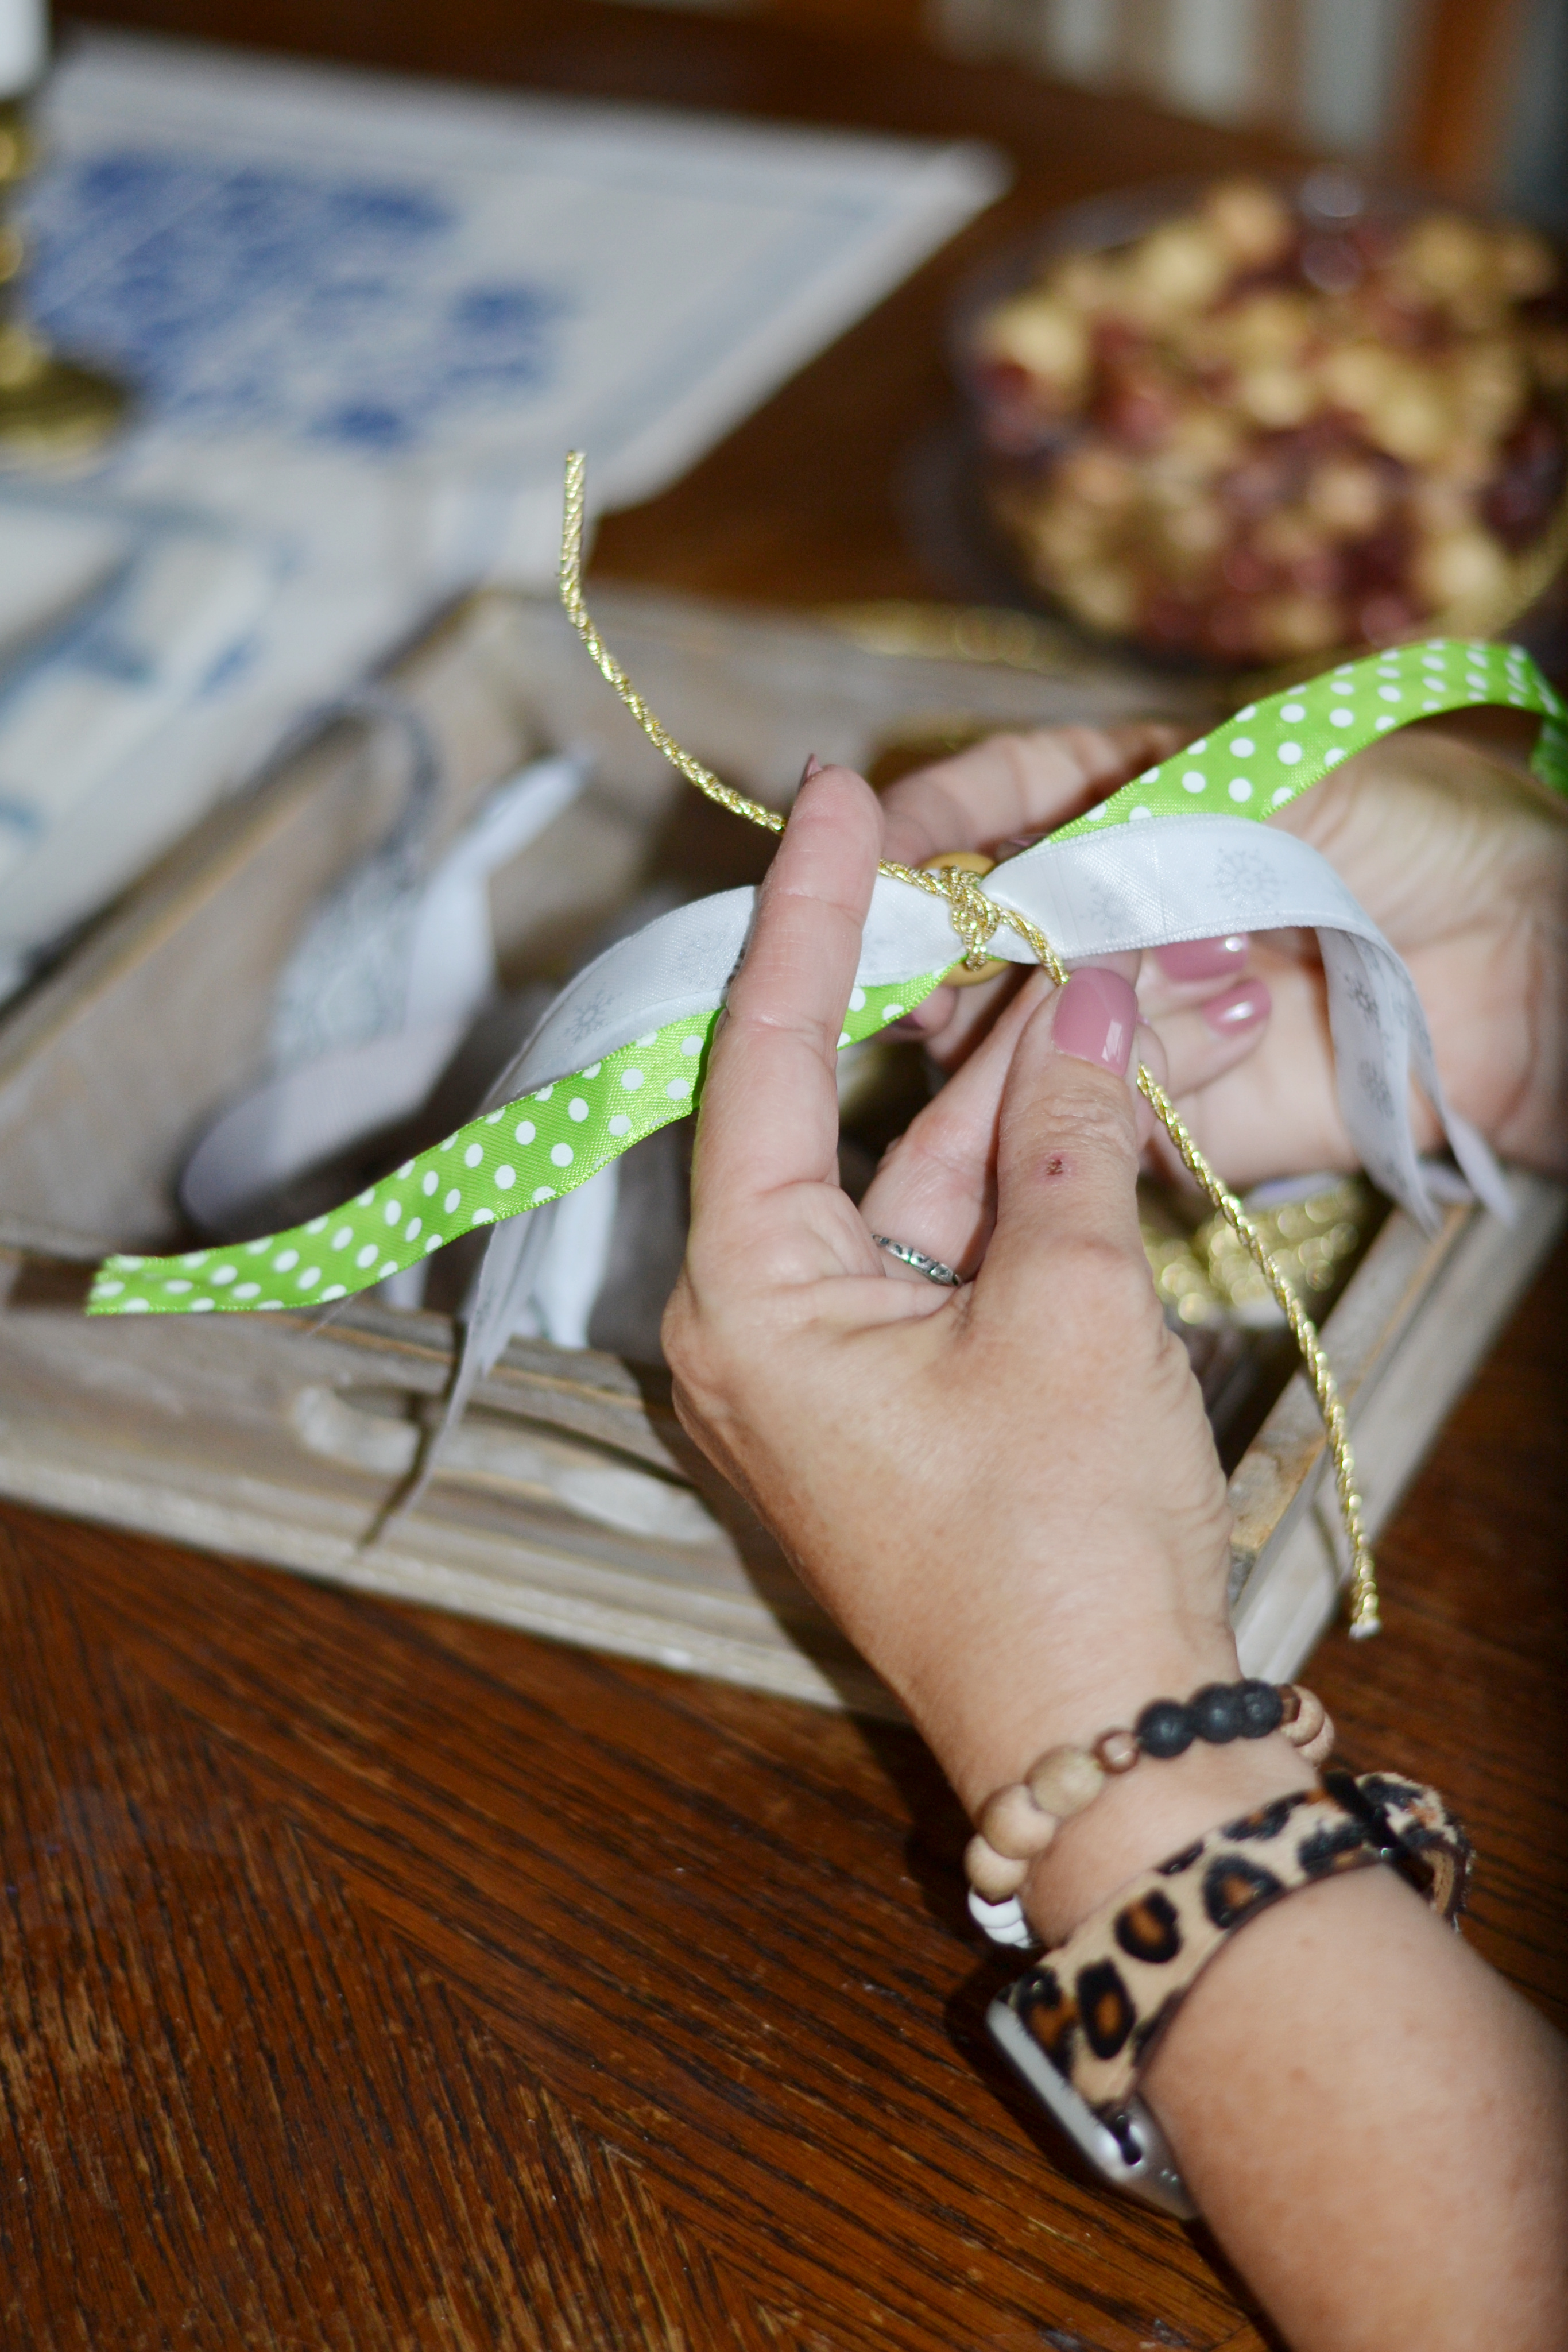
You can choose to leave the excess cord as part of your tassel or trim it so that it can not be seen.
Now that your tassel is done, you may need to pull and squeeze the ribbon in your hand to relax the ribbon a bit so it hangs properly.
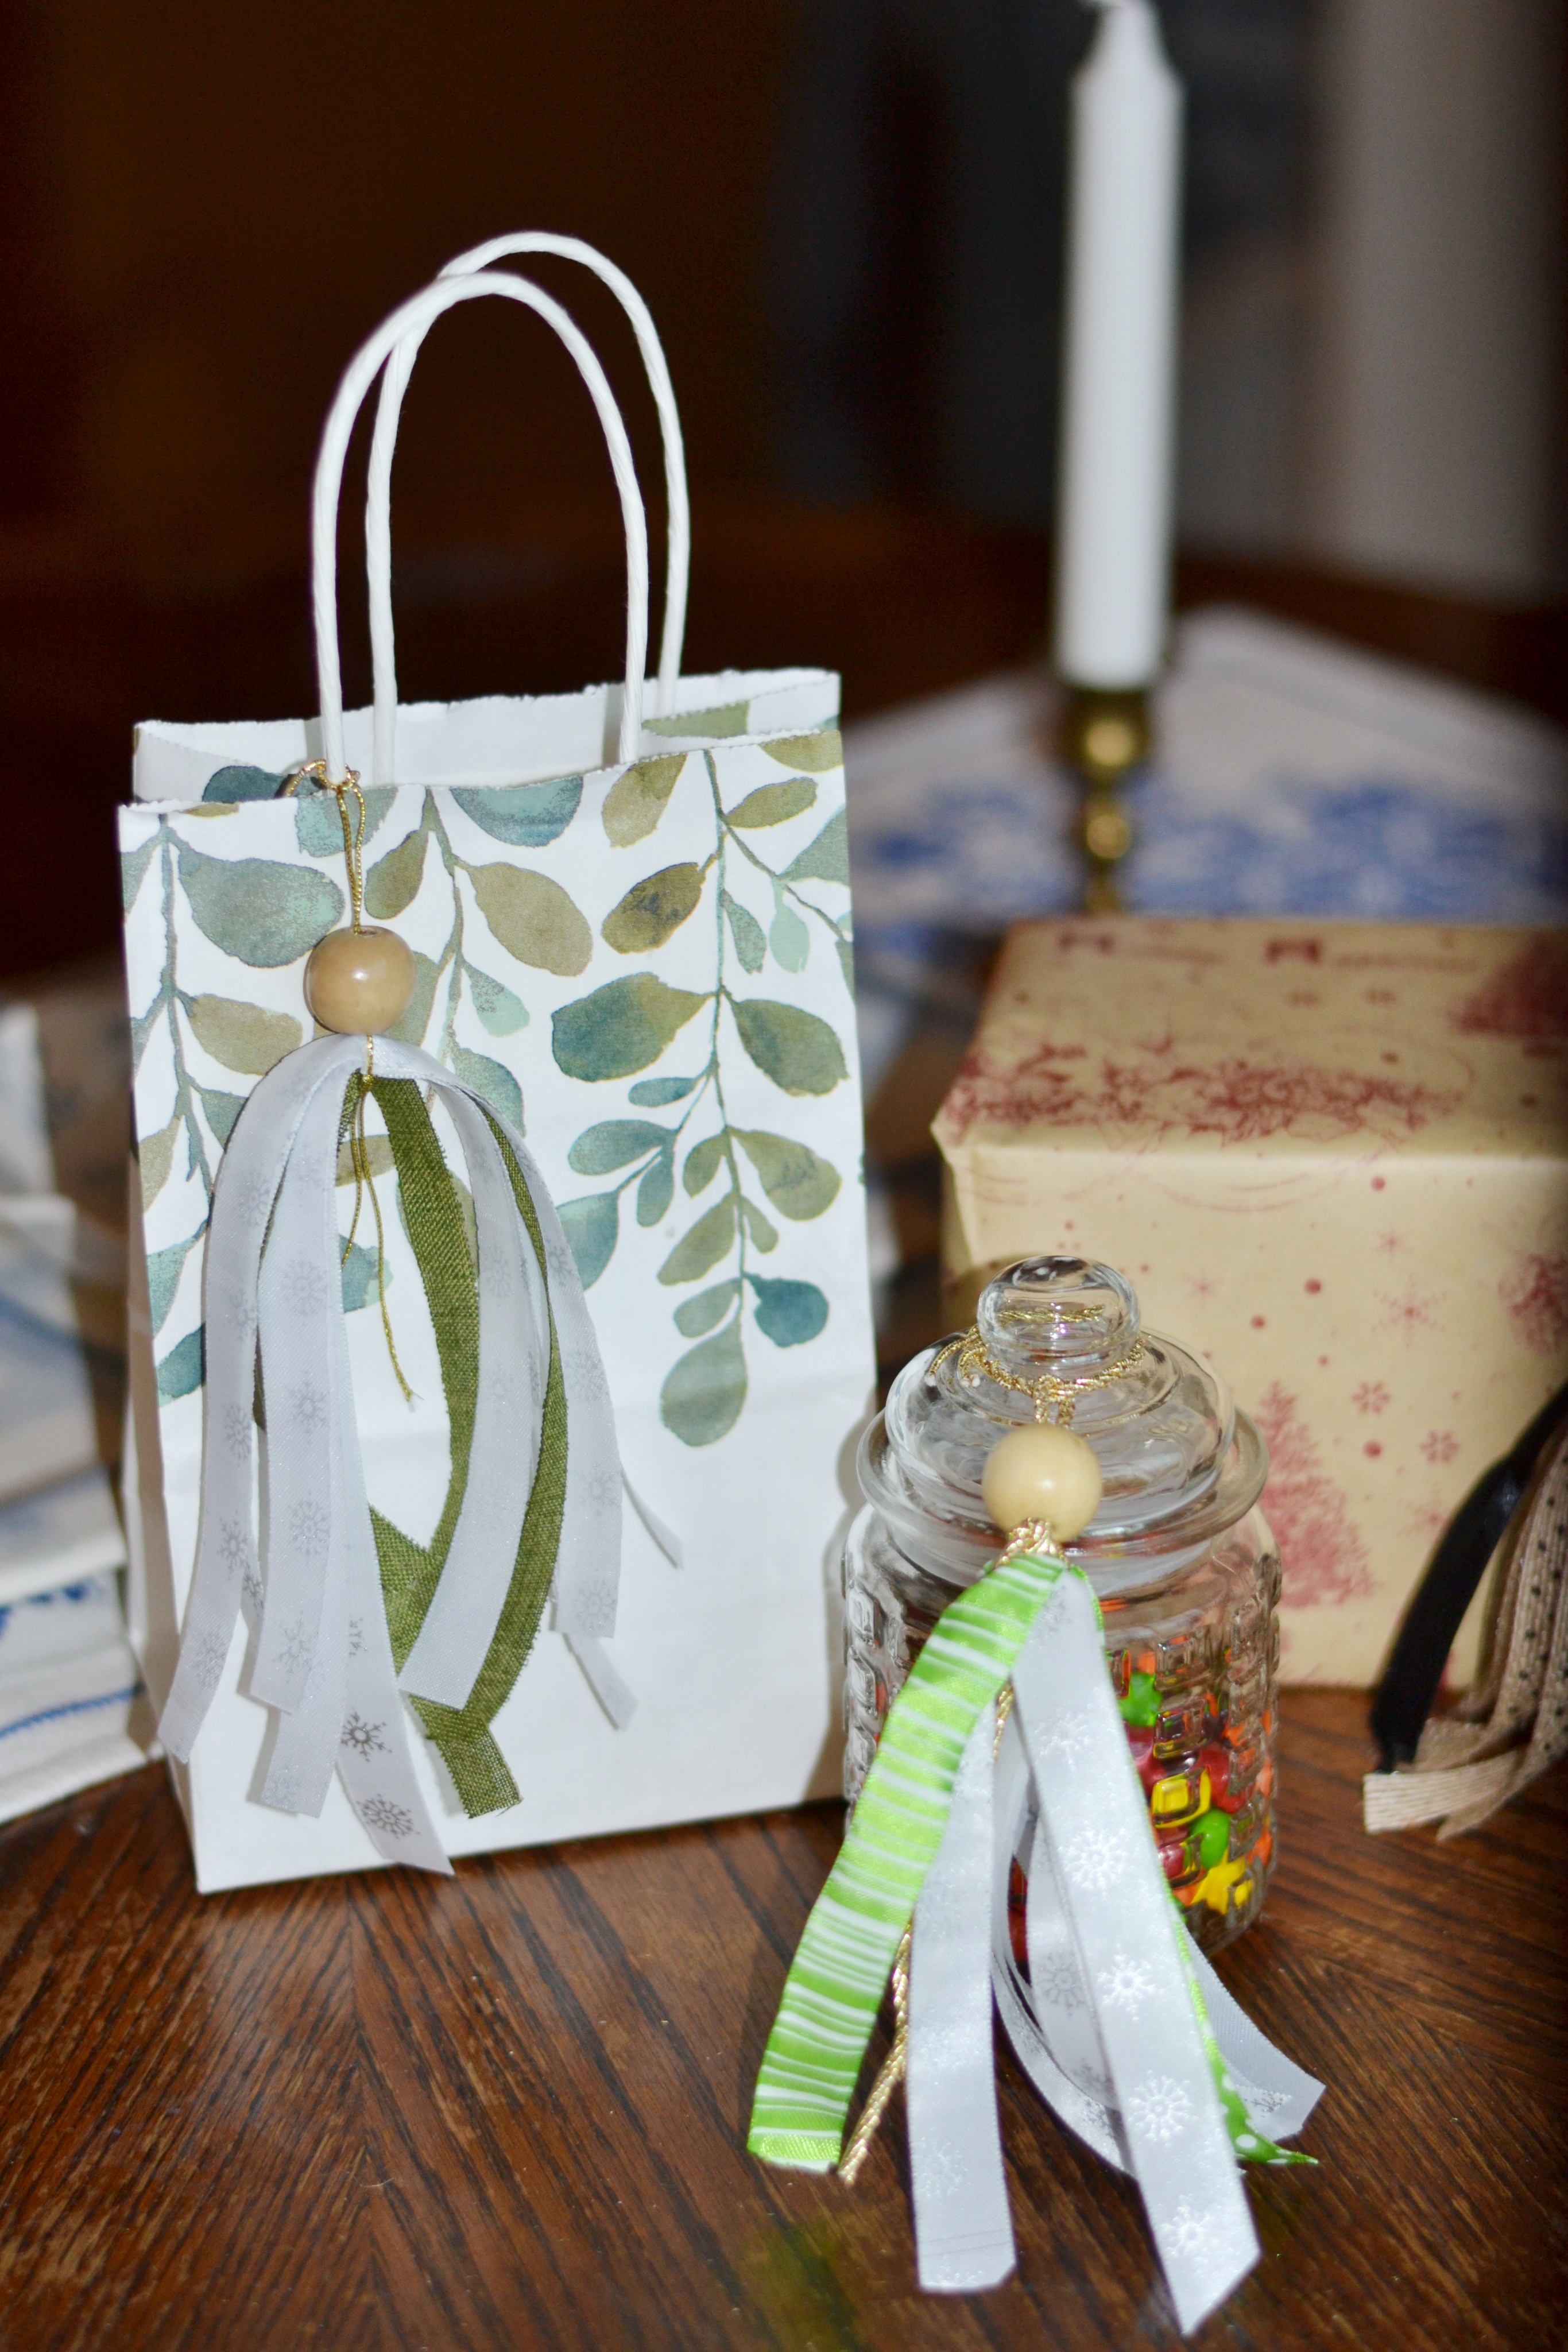
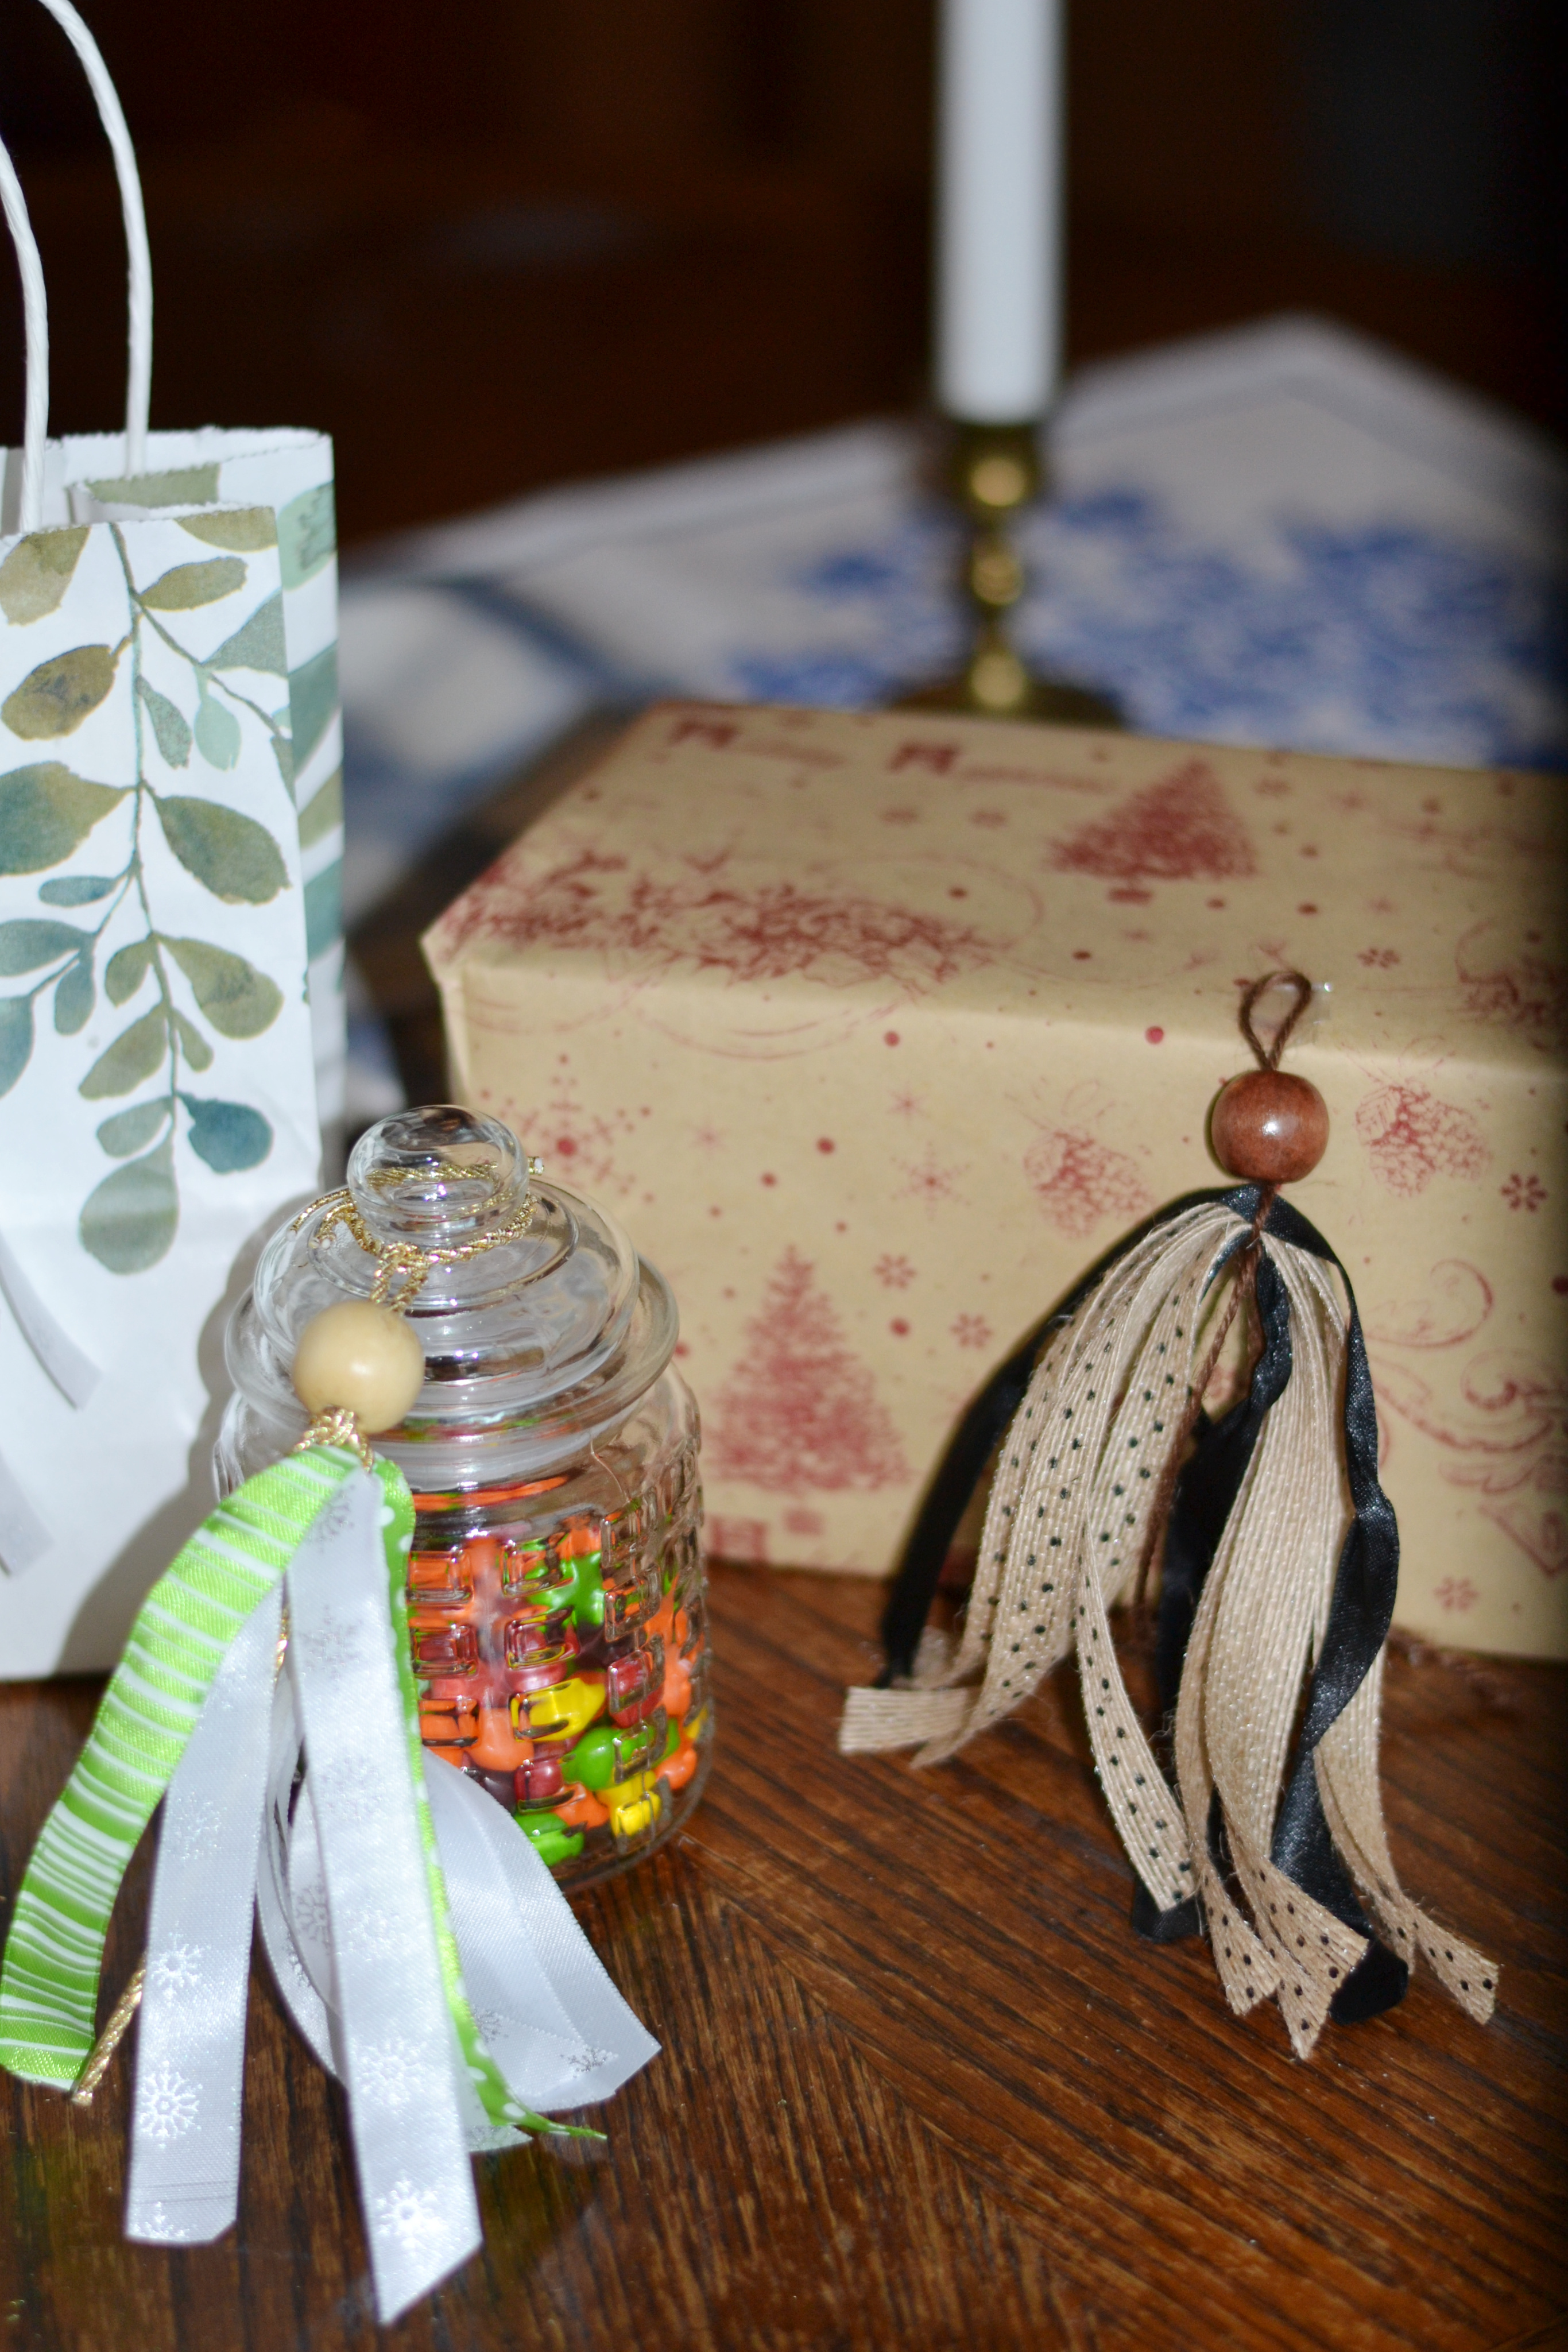
That may have seemed like a lot of steps but at least they were easy.
You have created a unique ribbon tassel with scrap ribbon to use on your holiday presents and gifts throughout the year.
Little touches like these tassels will certainly elevate your gifts this holiday season.
Looking for more holiday diy’s be sure to read here how to create your own ornaments.
Or if you are looking to use some scrap wood for a little diy, click here.
Till next time
Xoxo
Sonya
