Creating simple silhouette art
Happy New Year and welcome to the first post of the year for the Thrifty Style Team. Thank you to our monthly host, Julie of Redhead Can Decorate for putting this amazing group together.
This group is full of so much talent and inspiration, you will not want to miss a single post.
You know that I love simple, budget friendly decor, diy’s and crafts so today I am creating simple silhouette art and sharing it with you.
This post contains affiliate links at no cost to you, disclosure statement can be read on the disclosure page.
Supplies for this traditional decor
With a few supplies you can create this simple silhouette art.
- craft paint (I used navy)
- silhouette cookie cutters
- e6000 glue
- art boards (5 x 7)
- picture frame
- air dry molding clay
- rolling pin
- parchment paper
- small plastic knife
- sanding block
Once you have chosen your paint color and silhouette cookie cutters and have gathered the remaining supplies you are ready.
Before you get started though I wanted to share a few tips for working with the molding clay.
Working with molding clay
Prior to sharing how I created the traditional silhouette art, I wanted to share some tips on working with the clay.
- take out the amount needed and work it in your hands to warm it up and make it easier to work with
- wet your rolling pin just a bit to keep the clay from sticking to it
- use parchment paper to roll out on and leave your silhouettes on to dry so that it won’t stick to it
- let the clay air dry for at least three days to be sure it is set
These tips should make it a bit easier to work with.
Now we can get to the fun part of creating our budget friendly art.
Creating silhouette art
I love the traditional feel of silhouettes and have one of each of my kids hanging in the hall.
For these I wanted to do something just a little different.
Originally when I found these cookie cutters I wanted to make them into Christmas ornaments but decided upon this idea when I just could not find the time to make them during the holidays.
https://youtube.com/shorts/kZlOAD1Asb4?feature=share
These are simple to create, they just take a few days to dry so make sure to allow time for that.
-after working with your clay roll it out onto parchment paper to your desired thickness.
-wiggle the cookie cutter just a bit to remove from the clay, much like cutting cookies.
-cut off the excess around the outside of the cookie cutter and leave on the parchment paper to completely dry.
-once they are dry you can lightly sand the edges to remove any rough place from cutting, be sure to handle carefully as not to break it.
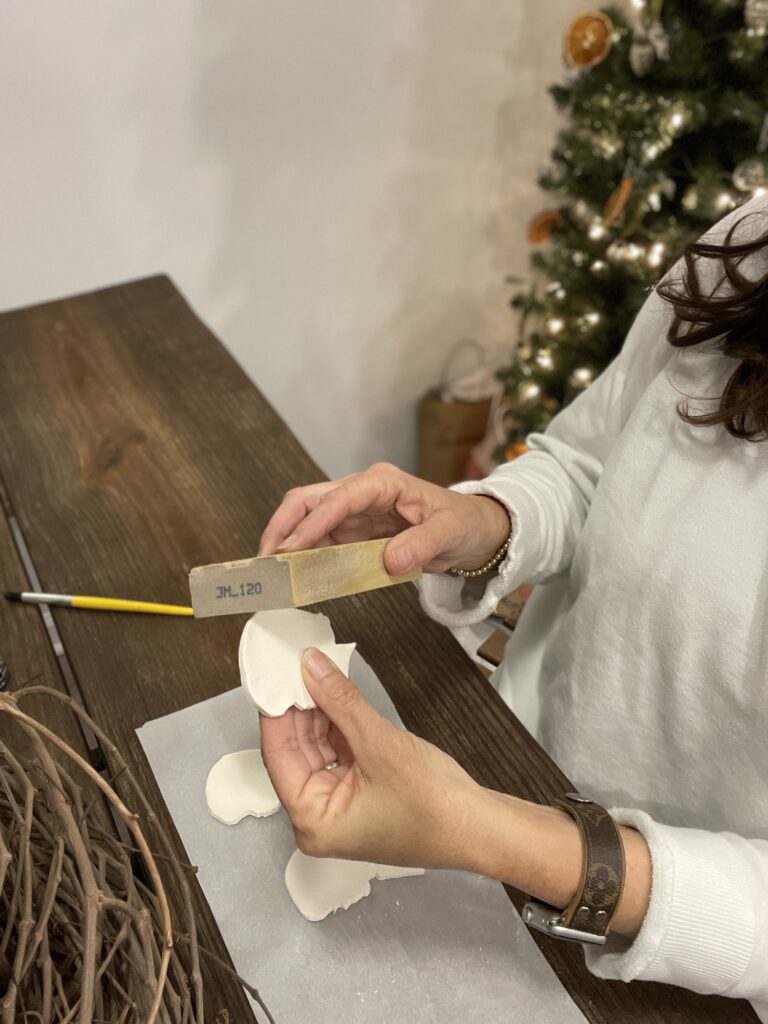
-after lightly sanding wipe off with a moist paper towel to remove any sanding dust and you are ready to paint.
-when you begin painting be sure to use a larger brush or spray paint so there are no brush marks.
I live in an apartment and can not use spray paint, but using the brush worked just fine.
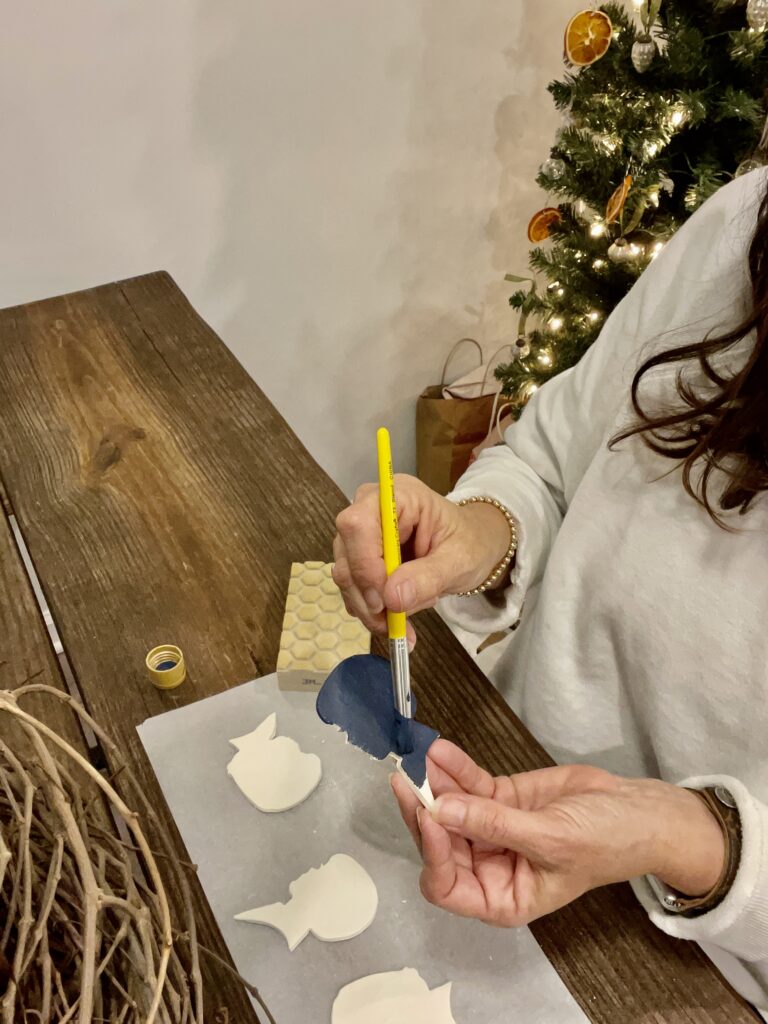
-once the paint dries you can glue it to the art board and put into your frame.
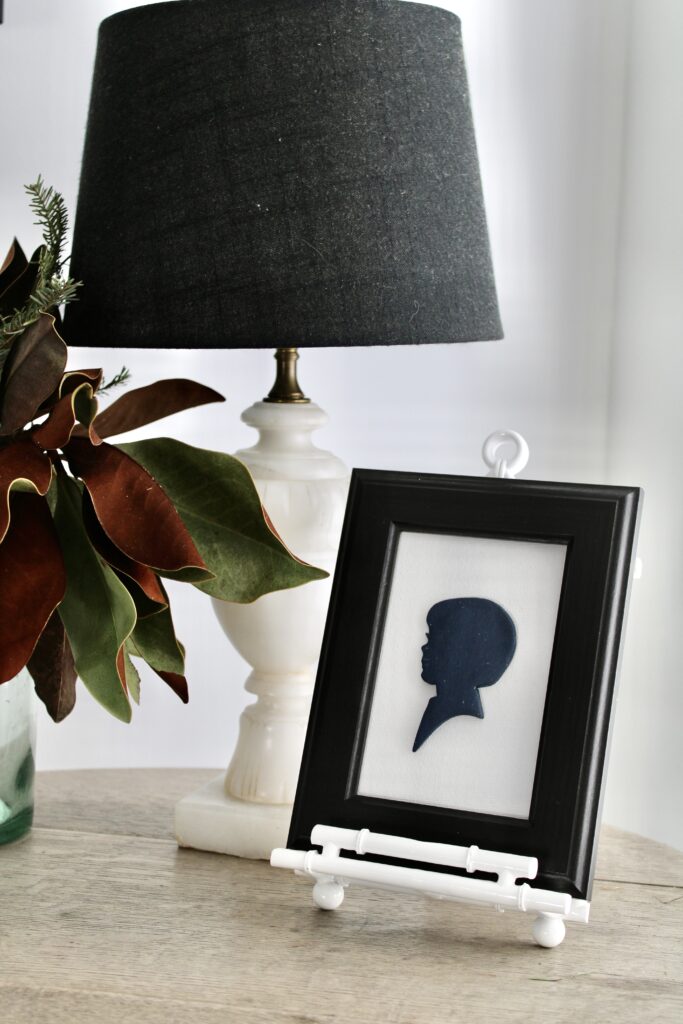
I chose to take the glass out of the frame since my silhouette is 3 dimensional and place it on an easel rather than hanging on the wall.
Easy budget friendly traditional decor
Once you have your silhouette cookie cutters you can create this simple silhouette art and so many other fun things such as, gift tags, holiday ornaments and of course cookies if you like.

Be sure to visit all the post listed below for all the inspiration for cute and cozy ideas.

Be sure to visit all the other amazing bloggers listed below to see what fun and thrifty things they have created.
Till next time
Xoxo
Sonya



I’ve always wanted to try a silhouette project. Thanks for sharing the tutorial. Love it!
Thank you Michelle, this one was super easy.
Sonya, this is such a unique craft! I’ve never seen a 3 dimensional silhouette before. Thanks for the molding clay tips. I definitely want to give this a try! Pinned 🙂
Thanks so much Rebecca, I love how it turned out. The three dimensional aspects made it truly unique.